Introduction
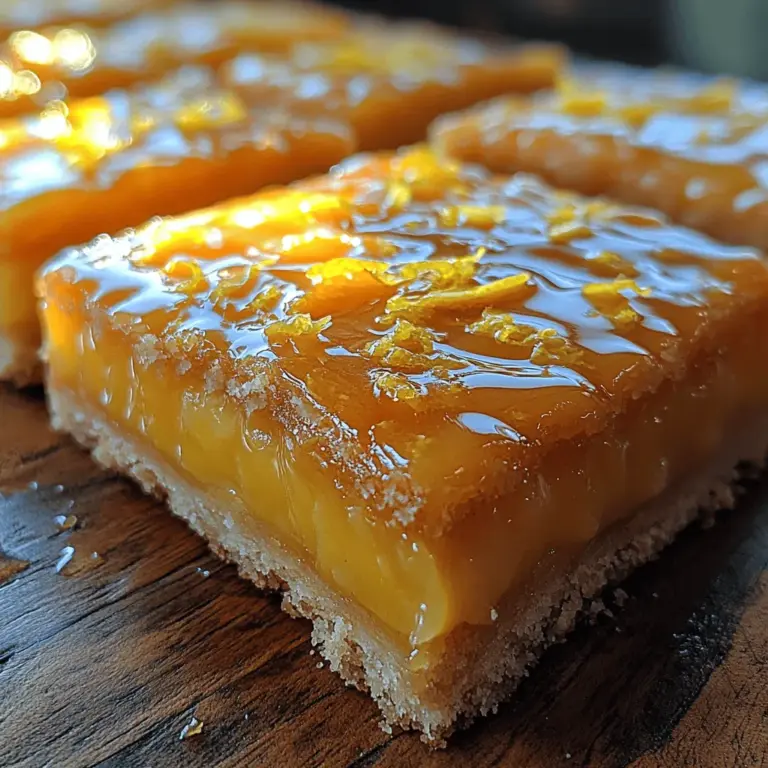
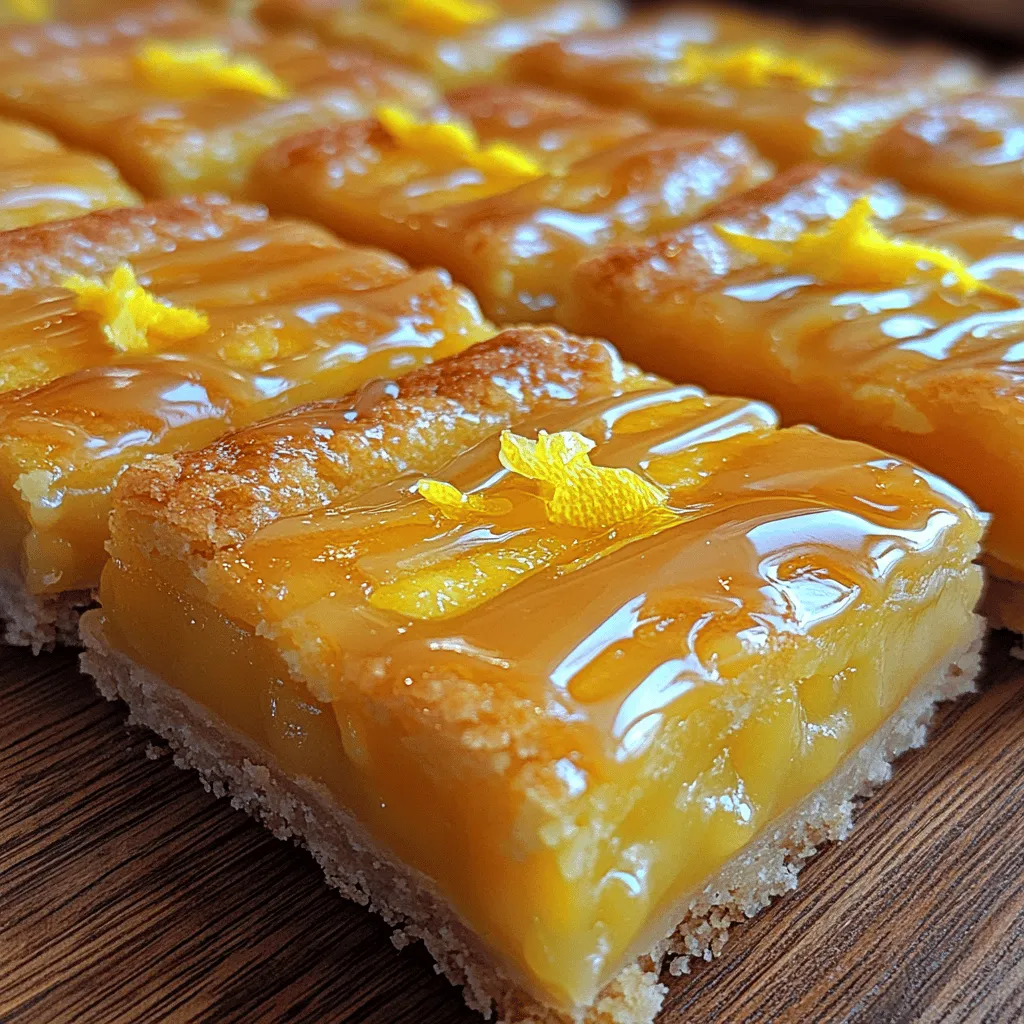
Lemon desserts have a unique ability to brighten any occasion, capturing the essence of fresh citrus and transforming it into delightful treats. Among the many lemon-inspired recipes, Glazed Lemon Zing Squares stand out for their exquisite balance of tartness and sweetness. These squares are not just a feast for the taste buds but also a visual delight, with their vibrant yellow filling and glossy glaze that beckons to be savored.
What makes Glazed Lemon Zing Squares particularly appealing is their simplicity. This recipe is designed to be accessible for bakers of all skill levels—from novices embarking on their culinary journey to seasoned bakers seeking a refreshing dessert to impress guests. With just a handful of ingredients and straightforward steps, you can create a dessert that is sure to be the star of any gathering.
In this article, we will delve into the details of making the perfect Glazed Lemon Zing Squares, starting with an overview of the essential ingredients that contribute to their delightful flavor and texture. We will then guide you through the process of creating the crust and mastering the lemon filling, ensuring that your squares are nothing short of extraordinary.
Understanding the Ingredients
To create the perfect Glazed Lemon Zing Squares, it’s essential to understand the role of each ingredient in the recipe. The harmony of these components is what results in the delightful zing that characterizes this dessert.
Flour
Flour serves as the foundation for both the crust and the filling of the lemon squares. For this recipe, all-purpose flour is typically used, providing the right structure and texture. The flour’s proteins work to bind the ingredients together, ensuring a sturdy base that can support the luscious lemon filling.
Sugar
Sugar is vital not only for sweetness but also for texture. In this recipe, you will likely use two types of sugar: granulated sugar for the filling and powdered sugar for the glaze. Granulated sugar helps to sweeten the filling while contributing to a slightly coarse texture that enhances the mouthfeel. Meanwhile, powdered sugar creates a smooth, glossy glaze that beautifully complements the tartness of the lemon.
Lemon Juice and Zest
The stars of this recipe are undeniably the lemon juice and zest. Freshly squeezed lemon juice provides the tangy flavor that gives these squares their signature zing. The zest, or outer peel of the lemon, contains essential oils that enhance the lemon flavor, making it more aromatic and vibrant. Together, they create a refreshing burst of citrus that is both invigorating and delightful.
Eggs
Eggs play a crucial role in binding the filling and helping it to set as it bakes. The proteins in eggs coagulate when heated, providing structure to the filling and ensuring that it remains firm yet tender. This is key to achieving the perfect texture in your lemon squares.
Butter
Using unsalted butter is important for flavor control in this recipe. Unsalted butter allows you to manage the salt content, ensuring that the natural sweetness of the sugar and the tartness of the lemon shine through. The butter also contributes richness and a tender crumb to the crust, making it a delightful base for the zingy filling.
Tips on Selecting Fresh Lemons
When it comes to selecting lemons for your Glazed Lemon Zing Squares, freshness is paramount. Look for lemons that are firm, heavy for their size, and have a vibrant yellow color. Avoid lemons with blemishes or dull skin, as these may be overripe or past their prime. For optimal flavor, choose organic lemons when possible, as they are typically grown without synthetic pesticides and have a more robust taste. Always remember to wash your lemons thoroughly before using them to remove any residues.
Creating the Perfect Crust
The crust is the foundation of your Glazed Lemon Zing Squares, providing a delightful contrast to the creamy lemon filling. Here’s a step-by-step guide to preparing the perfect crust.
Step 1: Gather Your Ingredients
For the crust, you will need:
– 1 cup of all-purpose flour
– 1/4 cup of granulated sugar
– 1/2 cup of unsalted butter, chilled and cubed
– A pinch of salt
Step 2: Combine Dry Ingredients
In a mixing bowl, combine the flour, granulated sugar, and salt. Mix these dry ingredients together until evenly distributed. This initial step is crucial, as it ensures that the sugar and salt are well blended with the flour, which contributes to a uniform crust.
Step 3: Cut in the Butter
Next, you will want to cut the chilled butter into the dry mixture. This technique is vital for achieving the right texture in your crust. You can use a pastry cutter, two forks, or even your fingers to work the butter into the flour mixture. The goal is to create coarse crumbs that resemble small peas. This process incorporates the butter into the flour, allowing for a flaky texture once baked.
Step 4: Form the Crust
Once you achieve the desired texture, press the mixture into the bottom of a greased 8×8-inch baking dish. Ensure that the crust is evenly distributed and pressed firmly to create a solid base. A well-formed crust will help contain the lemon filling and provide stability for the squares.
Step 5: Bake the Crust
Preheat your oven to 350°F (175°C) and bake the crust for about 15-20 minutes, or until it is lightly golden around the edges. Keep an eye on it to prevent over-baking, as a golden crust will provide a delicious flavor contrast to the tart lemon filling. Once baked, remove it from the oven and allow it to cool slightly while you prepare the lemon filling.
Mastering the Lemon Filling
The lemon filling is where the magic happens, providing that unmistakable zing that makes these squares so special. Here’s how to prepare the filling:
Step 1: Gather Your Ingredients
For the filling, you will need:
– 3 large eggs
– 1 cup of granulated sugar
– 1/2 cup of freshly squeezed lemon juice (about 2-3 lemons)
– Zest from 2 lemons
– 1/4 cup of all-purpose flour
– A pinch of salt
Step 2: Whisk the Eggs and Sugar
In a mixing bowl, whisk together the eggs and granulated sugar until the mixture is pale and slightly thickened. This step is crucial, as it helps to incorporate air into the filling, giving it a light and airy texture once baked.
Step 3: Add Lemon Juice and Zest
Once your egg and sugar mixture is well combined, slowly add the freshly squeezed lemon juice and lemon zest. Continue to whisk until the mixture is smooth and fully incorporated. The lemon juice will add a delightful tang, while the zest will enhance the citrus aroma.
Step 4: Incorporate Flour and Salt
Sift the flour and salt into the lemon mixture, gently folding it in to avoid overmixing. The flour helps to stabilize the filling as it bakes, ensuring that it sets properly while still maintaining a creamy texture.
Step 5: Pour the Filling Over the Crust
Once the crust has cooled slightly, pour the prepared lemon filling over the crust, spreading it evenly. This ensures that every bite of your Glazed Lemon Zing Squares is infused with that refreshing lemon flavor.
Step 6: Bake the Squares
Return the baking dish to the oven and bake for an additional 20-25 minutes, or until the filling is set and the edges are lightly golden. A slight jiggle in the center is normal, as it will continue to set as it cools. Once done, remove the dish from the oven and let it cool completely before glazing.
By following these steps, you will create a deliciously tangy and sweet dessert that perfectly embodies the essence of lemon. Stay tuned for the next part of this article, where we will focus on glazing your squares to achieve that stunning finish and provide additional tips to elevate your baking game.
Avoiding Common Pitfalls: Overmixing and Its Effects on Texture
When preparing Glazed Lemon Zing Squares, one of the most critical steps to remember is to avoid overmixing the batter. Overmixing can lead to a dense texture rather than the light and airy consistency that you desire. This happens because too much mixing incorporates excess air and develops gluten, which can make your squares tough instead of tender. To achieve the perfect texture, mix just until the ingredients are combined. A few lumps are perfectly acceptable; they will disappear during baking.
Baking Process: Timing and Temperature
The baking process is crucial for the success of your Glazed Lemon Zing Squares. An ideal oven temperature of 350°F (175°C) ensures even cooking, allowing the squares to rise nicely and set perfectly. Preheat your oven adequately before baking; this will help create a stable environment for even cooking.
How to Check for Doneness in the Lemon Filling
Knowing when your lemon squares are done is essential for achieving the right texture. To check for doneness, insert a toothpick into the center of the squares. If it comes out clean or with a few moist crumbs attached, your squares are ready. Ensure that the filling is set but still has a slight jiggle in the center.
Understanding the Jiggle: What a Slight Jiggle Means for the Final Product
A slight jiggle in the middle of the squares is a good sign—this indicates that the filling is not overcooked. If the filling appears too wobbly or liquidy, it needs more time in the oven. The residual heat will continue to cook the filling even after you remove it from the oven, resulting in perfectly set lemon squares once they cool down.
Whipping Up the Glaze
Now let’s move on to the glaze that will elevate your lemon squares to a whole new level.
Step-by-Step Instructions for the Glaze
1. In a mixing bowl, combine 1 cup of powdered sugar with 2 tablespoons of freshly squeezed lemon juice.
2. Whisk the mixture until smooth, ensuring there are no lumps.
3. If the glaze is too thick, add more lemon juice, a teaspoon at a time, until you reach the desired consistency.
Achieving the Right Consistency for Drizzling
The perfect glaze should be pourable yet thick enough to cling to the surface of the squares. It should drizzle off the whisk in a steady stream without being too runny. If you’re aiming for a more decadent look, you can add a bit more powdered sugar to thicken it or lemon juice to loosen it up.
The Role of Glaze in Enhancing Flavor and Appearance
The glaze serves a dual purpose: enhancing the flavor and adding a beautiful finish. The tangy sweetness of the glaze complements the zesty filling, creating a harmonious balance that is irresistible. Moreover, the glossy finish adds an appealing shine that makes the squares look professionally made, perfect for impressing guests at any gathering.
Optional Garnishing Tips: Adding Zest for Presentation
To elevate your Glazed Lemon Zing Squares further, consider garnishing them with additional lemon zest. This adds a pop of color and a burst of citrus aroma, enhancing the overall sensory experience. Simply sprinkle a small amount of freshly grated lemon zest over the glaze before it sets for a beautiful finish.
Serving Suggestions
When it comes to serving your Glazed Lemon Zing Squares, the presentation can make a significant difference. Here are a few ideas:
Ideas for Serving the Lemon Squares
– Cut the squares into perfect, uniform pieces for a polished look.
– Serve them on a decorative platter or individual dessert plates for a more elegant touch.
– Consider pairing the squares with fresh berries or a dollop of whipped cream for added flavor and visual appeal.
Presentation Tips for Gatherings or Parties
At gatherings, presentation is key. Arrange the squares neatly on a tiered dessert stand for a striking visual effect. You can also dust them lightly with powdered sugar before serving to create a charming finish. For a festive touch, use colorful napkins or decorative plates that complement the bright yellow of the lemon squares.
Pairing Suggestions: What Drinks or Snacks Complement the Lemon Zing
Glazed Lemon Zing Squares pair beautifully with a variety of beverages. For a refreshing experience, consider serving them with iced tea, lemonade, or sparkling water infused with fresh mint. If you’re in the mood for something more indulgent, a light white wine or a citrus-flavored cocktail can enhance the zesty notes of the dessert.
Storing and Keeping Fresh
To enjoy your Glazed Lemon Zing Squares for days to come, proper storage is essential.
Best Practices for Storing Glazed Lemon Zing Squares
Once your squares have cooled completely and the glaze has set, cut them into individual portions and place them in an airtight container. This protects them from drying out and helps maintain their freshness.
How to Keep the Squares Fresh in the Refrigerator
Store your lemon squares in the refrigerator for optimal freshness. They can last up to a week if stored correctly. Ensure that the container is sealed tightly to prevent moisture from affecting the texture and flavor.
Discussing the Shelf Life and How to Tell if They Have Gone Bad
While the Glazed Lemon Zing Squares are best enjoyed fresh, they can last for about a week in the fridge. If you notice any off smells, discoloration, or an unusual texture, it’s best to discard them. Always check for freshness before indulging!
Conclusion
Baking Glazed Lemon Zing Squares is not just about creating a dessert; it’s about the joy of infusing your kitchen with the fresh, zesty aroma of lemons. These squares are a delightful treat that can brighten any occasion, from casual gatherings to sophisticated dinner parties.
We encourage you to try this recipe and experience the perfect balance of tangy lemon flavor and sweet glaze. These squares are versatile enough to be enjoyed in any season, making them a fantastic addition to your dessert repertoire. Whether it’s a sunny summer afternoon or a cozy winter evening, Glazed Lemon Zing Squares are sure to bring a smile to your face and delight your taste buds. Happy baking!
