Crunchy Garlic Breadsticks: A Delicious Introduction
Garlic breadsticks are a beloved appetizer and side dish, cherished by many for their irresistible aroma and mouthwatering flavor. Whether served alongside a hearty pasta dish, a fresh salad, or simply enjoyed on their own, these breadsticks have a unique ability to enhance any meal. What truly sets homemade garlic breadsticks apart is the freshness of ingredients and the personal touch that comes with baking them yourself. The combination of warm, fluffy dough and the fragrant aroma of garlic creates a sensory experience that is hard to resist.
This recipe for crunchy garlic breadsticks is designed to be simple yet rewarding, making it accessible for bakers of all skill levels. Even if you are a novice in the kitchen, you will find that the steps are straightforward, and the results are nothing short of impressive. As you embark on this culinary journey, you will discover the joy of working with dough and the satisfaction of creating a beloved treat from scratch.
The Allure of Homemade Garlic Breadsticks
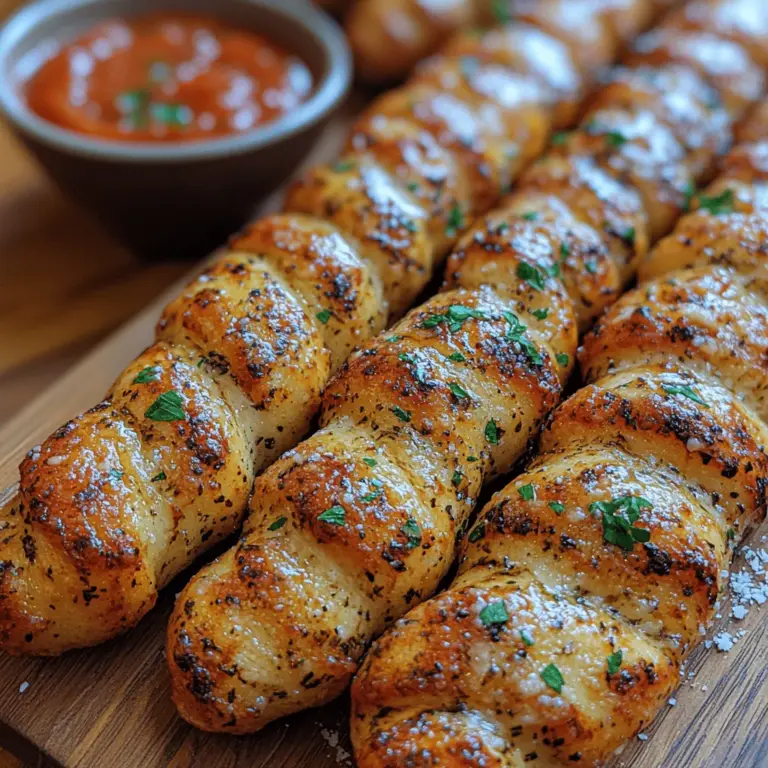
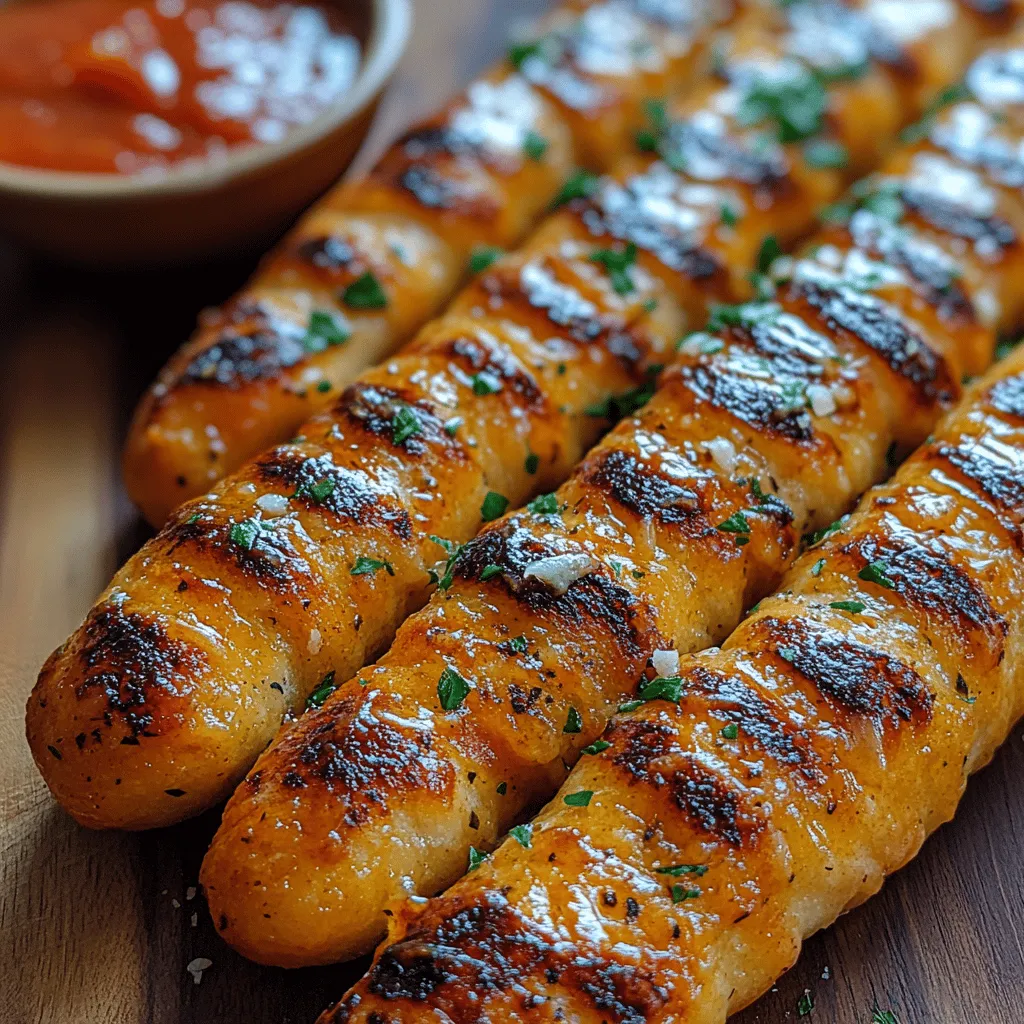
The sensory experience of freshly baked garlic breadsticks is unparalleled. As they emerge from the oven, the aroma of roasted garlic fills your kitchen, inviting everyone to gather around. The golden-brown crust offers a satisfying crunch, while the soft, warm interior provides a delightful contrast. Each bite is a harmonious blend of flavors, with the savory garlic complemented by a hint of herbs and a touch of richness from the butter and cheese.
Garlic breadsticks are incredibly versatile and can elevate any meal. They make a perfect accompaniment to Italian dishes, pairing seamlessly with marinara sauce or creamy Alfredo. However, their appeal doesn’t stop there; they can also be enjoyed as a standalone snack, perfect for dipping into olive oil or a spicy marinara sauce. The combination of textures and flavors makes them a delightful addition to any dining experience.
Historically, breadsticks have roots in various cuisines around the world. In Italy, they are often served with antipasti, while in other cultures, variations of breadsticks can be found alongside soups and salads. The simplicity of flour, water, and yeast has allowed this dish to evolve over centuries, with garlic becoming a staple ingredient that adds depth and character.
Ingredients Breakdown
To create the perfect batch of crunchy garlic breadsticks, it’s essential to understand the role of each ingredient in the recipe. Here’s a detailed breakdown of what you’ll need:
– All-Purpose Flour: This versatile flour provides the structure needed for the breadsticks. It contains a moderate amount of protein, which helps develop gluten, giving the breadsticks their chewy texture.
– Active Dry Yeast: The key player in the fermentation process, active dry yeast helps the dough rise. When activated, it produces carbon dioxide, creating air pockets that result in a light and airy texture.
– Sugar: While it may seem counterintuitive, sugar is crucial for yeast activation. It feeds the yeast, allowing it to produce carbon dioxide. Additionally, it adds a subtle sweetness that balances the savory flavors.
– Salt: Not only does salt enhance the overall flavor of the breadsticks, but it also plays a vital role in controlling yeast activity. A pinch of salt ensures that the yeast works effectively without overpowering the dough.
– Warm Water: The temperature of the water is crucial for activating the yeast. Ideally, it should be warm, around 110°F (43°C), which is optimal for yeast to thrive without killing it.
– Olive Oil: This ingredient adds moisture and richness to the dough while also contributing a distinct flavor. Additionally, olive oil has health benefits, making it a great choice for baking.
– Unsalted Butter: The addition of unsalted butter enriches the flavor and texture of the breadsticks. It brings moisture and helps create a desirable crunch on the outside.
– Garlic: As the star ingredient, fresh garlic infuses the breadsticks with robust flavor. You can choose to use minced garlic, roasted garlic, or even garlic powder, depending on your preference.
– Fresh Parsley and Dried Oregano: These herbs add freshness and a hint of earthiness to the breadsticks. They complement the garlic and bring a vibrant touch to the flavor profile.
– Red Pepper Flakes: While optional, red pepper flakes can introduce a subtle heat that elevates the flavor of the breadsticks. Adjust the amount to suit your taste.
– Grated Parmesan Cheese: The finishing touch, grated Parmesan adds a salty nuttiness that perfectly complements the garlic. Sprinkling it on top before baking creates a delightful crust.
With a clear understanding of the ingredients and their roles, you’re well on your way to crafting delicious homemade garlic breadsticks. The next steps will guide you through the process of making the dough, shaping the breadsticks, and preparing them for baking. Stay tuned for the continuation of this flavorful journey!
Crunchy garlic breadsticks are not only a delightful addition to any meal but also a rewarding baking project that fills your kitchen with irresistible aromas. With this detailed guide, you’ll master the art of crafting perfect garlic breadsticks from scratch.
Step-by-Step Instructions for Crafting Crunchy Garlic Breadsticks
Activating the Yeast
The first step in making your garlic breadsticks is to activate the yeast. This process is crucial as it helps to develop the dough by allowing the yeast to begin fermenting. Start by combining warm water (about 110°F or 43°C) with sugar and yeast in a small bowl. Let this mixture sit for about 5-10 minutes. You’ll know the yeast is activated when it becomes frothy and bubbly, indicating that the yeast cells are alive and ready to work their magic in your dough.
Making the Dough
Once your yeast is activated, it’s time to make the dough. In a large mixing bowl, combine all-purpose flour and salt. Make a well in the center of the flour mixture and pour in the activated yeast mixture along with a tablespoon of olive oil. Mix with a wooden spoon or your hands until the ingredients start to come together. The dough should be slightly sticky but not overly wet. If it is too dry, add a little more water, and if it’s too wet, sprinkle in more flour until you achieve the right consistency.
Kneading Techniques
Kneading is a crucial step for developing gluten, which gives your breadsticks their structure and chewiness. Turn the dough out onto a lightly floured surface and knead it for about 8-10 minutes. To knead, push the dough away from you with the heel of your hand, fold it back over itself, and turn it a quarter turn. Repeat this process, adding flour as necessary to prevent sticking. You’ll know you’ve kneaded enough when the dough is smooth and elastic, bouncing back when pressed.
First Rise
Transferring the kneaded dough to a lightly greased bowl, cover it with a damp cloth or plastic wrap, and let it rise in a warm, draft-free area for about 1-1.5 hours, or until it has doubled in size. This rise is essential as it allows the yeast to produce carbon dioxide, which makes the dough light and airy. If your kitchen is cool, you can create a warm environment by placing the bowl in an oven preheated to 200°F (93°C) for a few minutes, then turning the oven off.
Preparing the Garlic Mixture
While the dough is rising, prepare the garlic mixture. Melt 4 tablespoons of unsalted butter in a small saucepan over low heat. Add minced garlic—about 4-6 cloves, depending on your preference—and cook gently until fragrant but not browned, approximately 1-2 minutes. Remove from the heat and stir in chopped parsley, a pinch of salt, and a dash of pepper. This mixture will infuse your breadsticks with rich flavor, so feel free to adjust the garlic and herb quantities to suit your taste.
Shaping the Breadsticks
Once the dough has risen, punch it down to release the gas and transfer it to a lightly floured surface. Divide the dough into equal portions (about 10-12 pieces). Roll each piece into a long rope, approximately 1/2 inch thick. If desired, twist the ropes for a decorative touch. Place the shaped breadsticks on a parchment-lined baking sheet, leaving space between each stick to allow for expansion during the second rise.
Second Rise
Cover the shaped breadsticks with a cloth and allow them to rise for another 30-45 minutes. This second rise is important for achieving the perfect texture, ensuring your breadsticks are light and airy. You’ll notice they will puff up slightly during this time.
Baking
Preheat your oven to 400°F (200°C). Once the breadsticks have completed their second rise, brush them generously with the prepared garlic mixture, ensuring even coverage. Bake in the preheated oven for about 15-20 minutes, or until the breadsticks are golden brown and sound hollow when tapped on the bottom. Keep an eye on them towards the end of the baking time for perfect doneness.
Serving Suggestions
These garlic breadsticks are best enjoyed warm from the oven. Serve them with a side of marinara sauce for dipping or drizzle them with extra garlic butter for a rich, indulgent treat. They’re perfect as a side dish with pasta, soups, or salads and make a fantastic appetizer at gatherings.
Tips for Perfecting Your Garlic Breadsticks
Adjustments for Different Climates or Altitudes
Baking results can vary based on your environment. In high-altitude areas, you may need to reduce the amount of flour and increase the liquid to compensate for lower air pressure. Always keep an eye on your dough and adjust as necessary; it should feel supple and elastic.
Variations to the Recipe
Feel free to get creative with your garlic breadsticks! Incorporate different herbs like rosemary or thyme for added flavor. You can also experiment with cheese by adding grated Parmesan or mozzarella into the dough or sprinkling it on top before baking. For a spicier kick, consider adding red pepper flakes to the garlic mixture.
Storing and Reheating
To keep your garlic breadsticks fresh, store them in an airtight container at room temperature for up to 2 days. For longer storage, freeze them in a freezer-safe bag. When ready to enjoy, reheat them in the oven at 350°F (175°C) for about 10 minutes to restore their crunchy texture.
The Benefits of Baking at Home
Making garlic breadsticks from scratch offers numerous advantages over store-bought options. For one, you have control over the ingredients, allowing you to use fresh, high-quality products without preservatives or artificial additives. Baking at home is often more economical, and you can customize flavors to your liking. Moreover, the process of baking can be a therapeutic and fulfilling experience, providing a sense of accomplishment as you watch your dough transform into delicious breadsticks.
Conclusion
Creating crunchy garlic breadsticks from scratch is a rewarding culinary adventure that everyone can enjoy. The steps may seem intricate, but with a little patience and practice, you’ll be able to produce delicious, homemade breadsticks that impress your family and friends. Whether you’re serving them at a dinner party or enjoying them as a comforting snack, these breadsticks are sure to be a hit. So roll up your sleeves, gather your ingredients, and relish the joy of baking—your taste buds will thank you!
