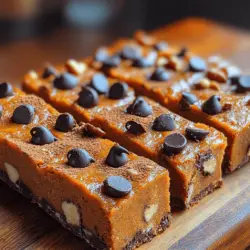
As the leaves turn vibrant shades of orange and gold, the aroma of pumpkin spice becomes a staple in kitchens across the country. The growing popularity of pumpkin-flavored recipes each fall signals the season’s cozy charm, inviting us to indulge in rich flavors and comforting treats. One such delightful creation is the Pumpkin Chocolate Snack Bars, a perfect fusion of health and indulgence that satisfies both sweet cravings and nutritional needs.
These snack bars are not only delicious but also packed with wholesome ingredients that contribute to a balanced diet. In a world where the line between nutritious and indulgent often blurs, these bars manage to strike the right balance. By incorporating naturally nutritious ingredients, they offer a guilt-free indulgence that you can enjoy any time of the day. Whether you’re looking for a healthy snack for your afternoon slump or a delightful treat to share with friends, Pumpkin Chocolate Snack Bars are the answer.
Understanding the Ingredients
To appreciate the full flavor and health benefits of Pumpkin Chocolate Snack Bars, it’s essential to understand the key ingredients that make this recipe both nutritious and delicious. Each component contributes to the overall profile, ensuring that you’re treating yourself without compromising on health.
Pumpkin Puree
At the heart of this recipe lies pumpkin puree, a versatile ingredient that brings both moisture and flavor to the snack bars. Pumpkin is an excellent source of vitamins A and C, which are vital for maintaining healthy skin and eyesight, as well as supporting the immune system. Additionally, pumpkin contains a significant amount of dietary fiber, which aids in digestion and promotes a feeling of fullness, making it an ideal ingredient for those looking to watch their weight.
When it comes to pumpkin puree, you have two primary options: canned and homemade. Canned pumpkin puree is a convenient choice, often offering the same nutritional benefits as fresh pumpkin, while also being ready to use right out of the can. However, homemade pumpkin puree can provide a fresher taste and allows you to control the texture. If you opt for the homemade route, simply roast a sugar pumpkin until tender, scoop out the flesh, and blend it until smooth.
Nut Butters
Nut butters play a crucial role in the structure and flavor profile of Pumpkin Chocolate Snack Bars. Creamy peanut butter or almond butter not only binds the ingredients together but also adds a rich, nutty flavor that complements the sweetness of the pumpkin. These nut butters are packed with protein, healthy fats, and essential nutrients, making them a great addition to any snack.
Peanut butter is particularly popular due to its affordability and widespread availability, but almond butter is a fantastic alternative for those seeking a different flavor or who have nut allergies. Both options provide a satisfying creaminess that enhances the overall texture of the bars.
Natural Sweeteners
In a world where refined sugar is ubiquitous, opting for natural sweeteners like honey or maple syrup can be a healthier choice. Honey has been celebrated for its antibacterial properties and ability to provide a quick source of energy, while maple syrup is rich in antioxidants and minerals. Both sweeteners can elevate the flavor of the Pumpkin Chocolate Snack Bars without the refined sugar crash.
When choosing between the two, consider the flavor profiles: honey imparts a floral sweetness, while maple syrup offers a deep, caramel-like taste. This choice can ultimately influence the final flavor of your bars, so feel free to experiment with both to find your preferred sweetness.
Whole Grains
To create a wholesome treat, incorporating whole grains is essential. Rolled oats and whole wheat flour provide fiber, vitamins, and minerals, making these snack bars a more nutritious option compared to those made with refined flour. Whole grains are known for their ability to help regulate blood sugar levels and keep you feeling satisfied for longer.
For those following a gluten-free diet, there are numerous alternatives available. Gluten-free oats and flours, such as almond flour or oat flour, can be used without compromising the texture and flavor of your bars. These options often come with added benefits, including increased protein and healthy fats, ensuring that your snack is as nutritious as it is delicious.
Spices and Flavor Enhancers
The warm spices of fall truly shine in Pumpkin Chocolate Snack Bars. Cinnamon and nutmeg not only enhance the flavor but also offer health benefits, including anti-inflammatory properties and improved digestion. A hint of vanilla extract adds depth to the overall taste, rounding out the flavor profile and providing a delightful aromatic experience.
Cinnamon, in particular, has been linked to various health benefits, including blood sugar regulation and antioxidant properties. Nutmeg can also provide a unique flavor twist while supporting digestive health. Together, these spices create a comforting and inviting taste that captures the essence of fall.
Chocolate and Nuts
No snack bar would be complete without the indulgence of chocolate. Incorporating dark chocolate into your Pumpkin Chocolate Snack Bars not only satisfies your sweet tooth but also provides health benefits such as antioxidants and improved heart health. For those preferring a dairy-free option, there are many high-quality dark chocolate brands available that use plant-based ingredients.
Additionally, adding nuts to the mix can enhance the texture and add a satisfying crunch. Nuts are a powerhouse of nutrients, providing healthy fats, protein, and fiber. Whether you choose walnuts, pecans, or almonds, they will contribute to both the flavor and nutritional value of your bars.
Step-by-Step Guide to Making Pumpkin Chocolate Snack Bars
Now that you have a solid understanding of the ingredients, it’s time to dive into the preparation of these delicious Pumpkin Chocolate Snack Bars. The first steps are critical to ensure a perfect bake.
Prepping the Oven and Pan
Start by preheating your oven to 350°F (175°C). This ensures that your snack bars will bake evenly and achieve that perfect chewy texture. While your oven is heating up, prepare your baking pan. Line an 8×8 inch square pan with parchment paper, allowing some overhang on the sides for easy removal after baking. This step is crucial, as it prevents the bars from sticking to the pan and makes for easy serving and cleanup.
With the oven preheated and the pan lined, you’re well on your way to creating a delightful fall treat that captures the essence of the season in every bite. Stay tuned for the next steps, where we will mix the ingredients and bring these Pumpkin Chocolate Snack Bars to life!
Importance of Preheating the Oven and Preparing the Baking Pan
Before diving into the mixing of ingredients, it’s essential to preheat your oven to 350°F (175°C). Preheating is crucial in baking as it ensures that the bars begin to cook evenly as soon as they enter the oven. An adequately warmed oven helps to achieve the desired texture, allowing for a perfect rise and preventing the bars from becoming dense or unevenly baked.
While the oven is heating, prepare your baking pan. For this recipe, a 9×13-inch pan works perfectly. Grease the pan lightly with cooking spray or butter, or line it with parchment paper for easy removal after baking. A well-prepared pan ensures that your pumpkin chocolate snack bars come out easily and maintain their shape.
Mixing Wet Ingredients
Start by gathering your wet ingredients: canned pumpkin puree, eggs, melted coconut oil (or vegetable oil), and vanilla extract. In a large mixing bowl, combine the pumpkin puree, eggs, and vanilla extract. Using a whisk or an electric mixer, blend these ingredients until they are smooth and creamy. It’s essential to ensure that the eggs are fully incorporated into the mixture, as this will help create a cohesive batter.
Next, gradually add the melted coconut oil to the pumpkin mixture while whisking continuously. This step is crucial, as incorporating the oil while whisking helps to emulsify the mixture, resulting in a smooth and uniform batter. Achieving the right texture is vital; if the mixture is too thick, it may lead to dry bars, so ensure that you combine until the mixture is homogenous.
Combining Dry Ingredients
In a separate bowl, sift together your dry ingredients: all-purpose flour, baking powder, baking soda, cinnamon, nutmeg, and salt. Sifting not only removes any lumps but also aerates the flour, making it lighter. The spice blend is essential to infuse the bars with a warm, autumnal flavor, so be generous with measuring the spices.
When mixing dry ingredients, ensure they are evenly distributed before combining them with the wet mixture. This step is crucial for uniformity in the batter, helping each bar have the same delightful flavor profile. If you skip this step, some bars may be overly spiced while others lack flavor.
Creating the Batter
Once your wet and dry ingredients are prepared, it’s time to create the batter. Gradually add the dry ingredients to the wet mixture, stirring gently with a spatula or spoon. It’s vital to combine these two mixtures without overmixing. Overmixing can lead to tough, chewy bars instead of the tender, moist ones we desire.
Mix just until you no longer see any dry flour; a few lumps are acceptable. This gentle folding technique ensures that the ingredients are combined without developing the gluten in the flour too much, which is key to achieving the perfect texture.
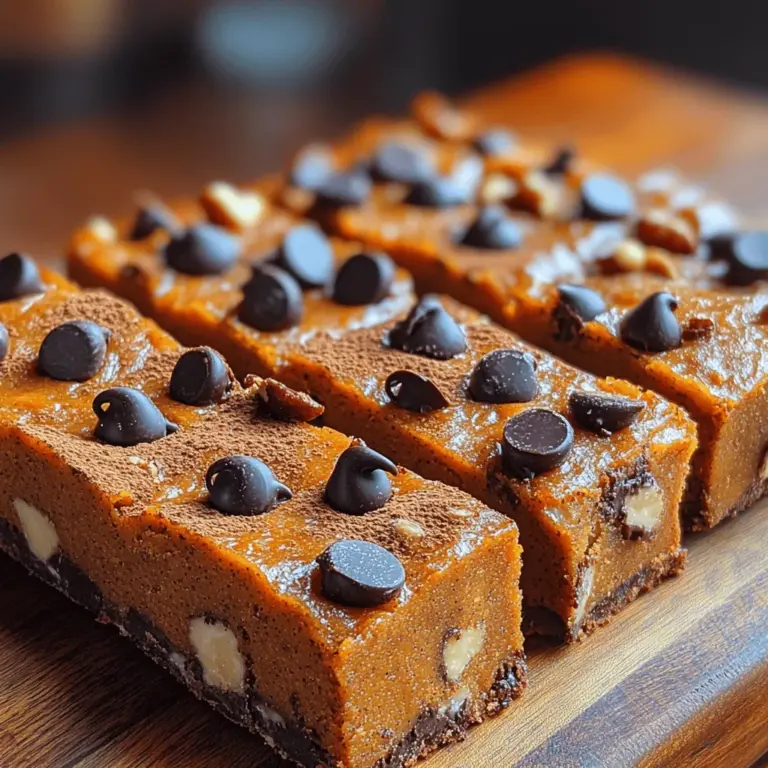
Adding Chocolate and Nuts
Now comes the fun part—adding chocolate chips and optional nuts! Fold in your chocolate chips, ensuring they are evenly distributed throughout the batter. If you choose to include nuts, such as walnuts or pecans, chop them roughly and add them at this stage. The combination of chocolate and nuts enhances the flavor profile and adds a delightful crunch.
To maintain the integrity of the bars, be cautious not to overmix the batter after adding the chocolate and nuts. Gently fold them in until they are just incorporated. This way, each bite will be bursting with flavor, offering a delightful contrast between the soft pumpkin base and the rich chocolate.
Baking the Bars
Once your batter is ready, pour it into the prepared baking pan, spreading it evenly. Bake in your preheated oven for approximately 25-30 minutes. Keep an eye on the bars as they bake; the edges should start to pull away from the pan, and the top will look set and slightly domed.
To check for doneness, perform the toothpick test. Insert a toothpick into the center of the bars; if it comes out clean or with just a few moist crumbs attached, they are ready to be taken out of the oven. If the toothpick comes out with wet batter, give them a few more minutes and check again.
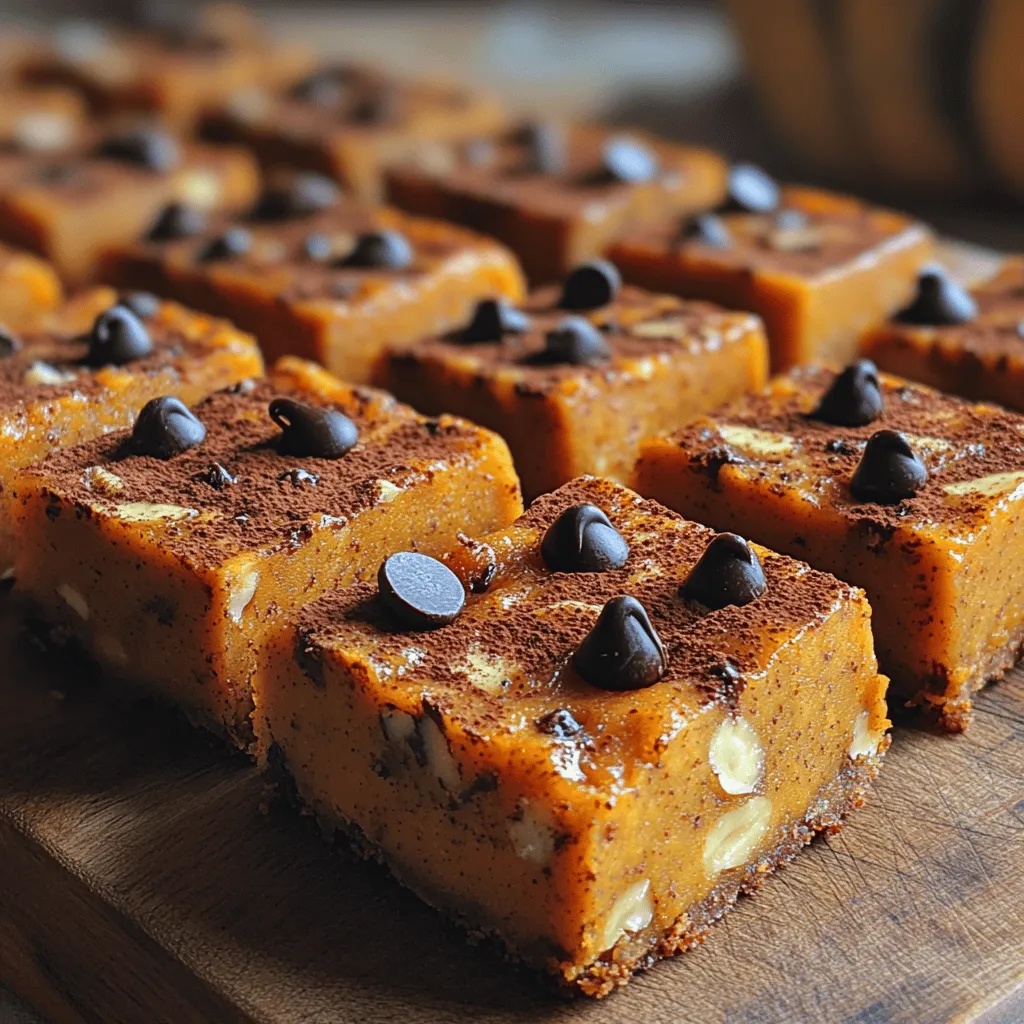
Cooling and Cutting
After removing the bars from the oven, allow them to cool in the pan for about 10-15 minutes. This cooling period helps them set further and makes them easier to cut. Once slightly cooled, transfer the bars to a wire rack to cool completely.
For clean cuts, use a sharp knife and cut the bars into squares or rectangles, depending on your preference. Wipe the knife between cuts to ensure you don’t drag any crumbs through the bars, which can ruin their presentation.
Nutritional Benefits of Pumpkin Chocolate Snack Bars
These pumpkin chocolate snack bars aren’t just delicious; they also provide several nutritional benefits. Pumpkin is an excellent source of vitamins A and C, potassium, and dietary fiber. These nutrients play a crucial role in boosting the immune system and promoting digestive health.
The combination of chocolate chips and nuts adds a balance of macronutrients. The complex carbohydrates from the pumpkin and flour provide sustained energy, while the proteins and healthy fats from the nuts contribute to satiety and overall nutrition. These bars can be an excellent snack or a wholesome breakfast option, offering a guilt-free indulgence that fits well into a balanced diet.
Storage and Serving Suggestions
To keep your pumpkin chocolate snack bars fresh, store them in an airtight container at room temperature for up to one week. For longer storage, you can refrigerate them for up to two weeks or freeze them for up to three months. When freezing, cut the bars into individual portions and wrap them tightly in plastic wrap before placing them in a freezer-safe container.
For serving, consider pairing these bars with a dollop of Greek yogurt or a side of fresh fruit for added nutrition. They also make a fantastic accompaniment to your morning coffee or tea. If you’re looking to incorporate these bars into meal prep routines, make a batch on the weekend to enjoy throughout the week as a quick breakfast or snack.
Conclusion
In summary, pumpkin chocolate snack bars are not just a seasonal treat; they are a delicious combination of flavors and nutrients that make them a versatile snack option. With their moist texture and the rich taste of chocolate, these bars are a perfect way to celebrate the fall season.
Encouraging you to indulge in these guilt-free bars is easy; they are satisfying and nutritious, making them a great choice for any time of day. Don’t hesitate to experiment with variations of this recipe, such as adding different spices, swapping in other types of chocolate, or incorporating various nuts to suit your taste preferences. Enjoy the delightful combination of pumpkin and chocolate in these snack bars, and savor every bite!