Introduction
Indulging in homemade sweets is a delightful experience, and few treats are as satisfying as a batch of Creamy Dreamy Peanut Butter Fudge. This rich and decadent confection combines the luscious flavors of peanut butter and butter, resulting in a smooth and creamy texture that melts in your mouth. Whether you’re looking to satisfy your own sweet tooth or impress friends and family during gatherings, this fudge recipe is simple yet yields impressive results.
In this article, we’ll explore the ingredients that contribute to the fudge’s unique flavor, provide step-by-step instructions for crafting this delightful treat, share tips for storage, and present nutritional information to help you enjoy this dessert responsibly. Get ready to dive into the world of creamy, dreamy peanut butter fudge!
Understanding the Ingredients
To create the perfect Creamy Dreamy Peanut Butter Fudge, understanding the role of each ingredient is crucial. Here’s a breakdown of what you’ll need and why they matter.
The Foundation of Flavor: Creamy Peanut Butter
At the heart of this recipe lies creamy peanut butter. Not only does it provide the signature flavor that peanut butter lovers adore, but it also greatly influences the texture of the fudge. When selecting peanut butter for your fudge, it’s essential to choose a high-quality product. Look for options that contain minimal ingredients—preferably just peanuts and salt. Natural peanut butter can also work, but be sure to stir it well to incorporate the oil before measuring.
The rich, nutty flavor of peanut butter adds a depth that balances perfectly with the sweetness of the fudge. As it melts and blends with the other ingredients, it creates a luscious consistency that is both satisfying and indulgent.
The Role of Unsalted Butter
Unsalted butter is another key ingredient in this fudge recipe. While it may seem like a minor detail, using unsalted butter allows you to control the overall saltiness of your dessert. Salted butter can vary in salt content, which might throw off the balance of flavors in your fudge.
Butter contributes to the creaminess and richness of the fudge. When melted and combined with peanut butter, it creates a smooth mixture that holds the fudge together and adds a luxurious mouthfeel. For the best results, ensure that your butter is at room temperature before you begin melting it, as this will help it integrate smoothly into the mixture.
Sweetening the Deal: Powdered Sugar
Powdered sugar is the sweetener of choice for this peanut butter fudge, and its role is vital in achieving the desired texture. Unlike granulated sugar, powdered sugar contains a small amount of cornstarch, which helps prevent clumping and contributes to the smoothness of the fudge.
Using powdered sugar allows the fudge to set properly while maintaining a creamy texture that melts in your mouth. It’s important to sift the powdered sugar before adding it to the mixture to ensure there are no lumps, resulting in a silky-smooth fudge.
Vanilla Extract and Salt: Enhancing the Flavor
No fudge recipe is complete without a touch of vanilla extract. This ingredient acts as a flavor enhancer, complementing the rich peanut butter and sweetening the overall profile of the fudge. Vanilla adds complexity and warmth, making every bite more enjoyable.
Additionally, don’t underestimate the role of salt in this recipe. A small pinch of salt balances the sweetness of the fudge and enhances the flavors of the other ingredients. It helps to bring out the natural richness of the peanut butter and creates a more rounded taste experience.
Optional Ingredients for Customization
While the basic recipe for Creamy Dreamy Peanut Butter Fudge is delicious on its own, you can easily customize it to suit your preferences. Here are a couple of optional ingredients that can elevate your fudge:
– Chopped Peanuts: For those who enjoy a bit of crunch, incorporating chopped peanuts into the fudge mixture adds texture and enhances the peanut flavor. Simply fold them in before pouring the fudge into the pan.
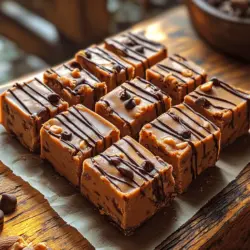
– Chocolate Chips: If you’re a fan of the classic combination of chocolate and peanut butter, consider sprinkling chocolate chips on top of the fudge before it sets. The melted chocolate adds a delightful contrast to the creamy fudge and makes for a visually appealing treat.
Step-by-Step Instructions
Now that you’re familiar with the essential ingredients, let’s walk through the steps to create your own Creamy Dreamy Peanut Butter Fudge. Follow these instructions carefully for the best results.
Preparing the Baking Pan
The first step in making your fudge is preparing the baking pan. This is an essential task that ensures your fudge comes out easily after setting. Start by lining an 8×8-inch (or 9×9-inch) square baking pan with parchment paper. Allow the paper to hang over the edges slightly; this will create convenient handles for lifting the fudge out later.
Next, lightly grease the parchment paper with a bit of cooking spray or butter. This step is crucial to prevent the fudge from sticking to the paper and makes for easy removal once it’s set.
Melting the Butter
With your pan prepared, it’s time to melt the unsalted butter. You can do this on the stovetop or in the microwave. If you choose to melt it on the stovetop, place the butter in a small saucepan over low heat. Stir occasionally to ensure even melting and to avoid browning.
If using a microwave, place the butter in a microwave-safe bowl and heat it in short intervals of 15-20 seconds, stirring in between until completely melted. Be careful not to overheat the butter, as browned butter can impart an undesired flavor to your fudge.
Incorporating Peanut Butter
Once the butter is melted, it’s time to incorporate the creamy peanut butter. Add the peanut butter to the melted butter while it’s still warm, and stir until the mixture becomes smooth and fully blended. This warmth helps to melt the peanut butter slightly, making it easier to mix and ensuring a creamy consistency.
After the peanut butter is well combined, it’s time to add the powdered sugar. Gradually sift the powdered sugar into the peanut butter mixture, stirring continuously to prevent lumps from forming. This step is key to achieving a smooth fudge texture.
Continue mixing until all the powdered sugar is incorporated and the mixture is thick and creamy. At this point, you can also add the vanilla extract and a pinch of salt to enhance the flavors. Stir until everything is well combined and smooth.
Pouring and Setting the Fudge
Once your fudge mixture is ready, pour it into the prepared baking pan. Use a spatula to spread the mixture evenly, smoothing the top for an attractive finish. If you’re adding any optional ingredients like chopped peanuts or chocolate chips, now is the time to sprinkle them on top.
After you’ve spread the fudge evenly, place the pan in the refrigerator for at least 2-3 hours or until the fudge is firm and set. Once set, you can lift the fudge out of the pan using the parchment paper and cut it into squares.
Creating Creamy Dreamy Peanut Butter Fudge is a straightforward yet rewarding process. With just a few quality ingredients and careful attention to detail, you can whip up a batch of this delightful treat that will leave everyone wanting more. Stay tuned for the next part of this article, where we’ll delve even deeper into tips for perfecting your fudge and answer some common questions about this irresistible dessert.
Ensuring a Smooth Mixture and the Right Consistency
The key to a successful fudge lies in achieving a smooth, velvety mixture that is free of lumps. Start by ensuring that your peanut butter is well-stirred and at room temperature, as this will facilitate easier mixing. If you’re using natural peanut butter, give it a good stir to blend the oils back into the paste before measuring.
When it comes to incorporating the powdered sugar, the technique you use can make all the difference. Begin by sifting the powdered sugar into your mixing bowl to eliminate any potential lumps. This step is crucial as it allows for a smoother integration into the mixture. Gradually add the sifted sugar to the peanut butter and butter mixture, using a sturdy spatula or a hand mixer on low speed. Mix until it forms a thick and creamy consistency. If you find that the mixture is too dry or crumbly, you can add a teaspoon of milk or a splash of vanilla extract to help achieve the desired texture.
Adding Sugar and Flavorings
Flavorings can elevate your fudge to new heights. Vanilla extract is a classic addition that enhances the overall taste without overpowering the peanut butter flavor. For an extra layer of richness, consider adding a pinch of sea salt to balance the sweetness. If you want to introduce a twist, try mixing in a tablespoon of cocoa powder for a chocolate-peanut butter combination or even a teaspoon of cinnamon for a warm spice note.
Once you’ve added your flavorings, mix thoroughly until everything is well incorporated. The goal is to create a uniform blend that will set evenly when chilled.
Transferring to the Pan
Now that your mixture is smooth and flavorful, it’s time to transfer it to the pan for setting. Line an 8-inch square pan with parchment paper, leaving some overhang on the sides; this will make it easier to lift the fudge out later.
Using a spatula, scoop the fudge mixture into the prepared pan. To ensure that the fudge is evenly distributed, begin by spreading it out gently in the corners of the pan. Once it’s in place, use the spatula to press down firmly, smoothing the top with even pressure. This not only helps to create a uniform thickness but also aids in achieving cleaner cuts once the fudge has set.
Adding Chocolate Topping
For those who appreciate a little extra indulgence, a chocolate topping is the perfect finishing touch to your peanut butter fudge. Begin by melting chocolate chips or a chocolate bar in a microwave-safe bowl. Heat in 30-second intervals, stirring in between, until the chocolate is fully melted and glossy.
Pour the melted chocolate over the fudge mixture, spreading it evenly to cover the entire surface. If desired, sprinkle a few crushed peanuts or a small pinch of sea salt on top for added texture and flavor. Allow the chocolate layer to set at room temperature for about 10 minutes before transferring the fudge to the refrigerator to chill completely.
Chilling the Fudge
Chilling is a critical step in the fudge-making process, as it allows the fudge to firm up and develop its signature texture. Place the pan in the refrigerator and allow it to chill for at least 2 hours, or until the fudge is completely set.
The chilling time is essential; rushing this step can result in a fudge that is too soft and difficult to cut. Once chilled, you will be rewarded with a firm, creamy, and decadently rich piece of peanut butter fudge.
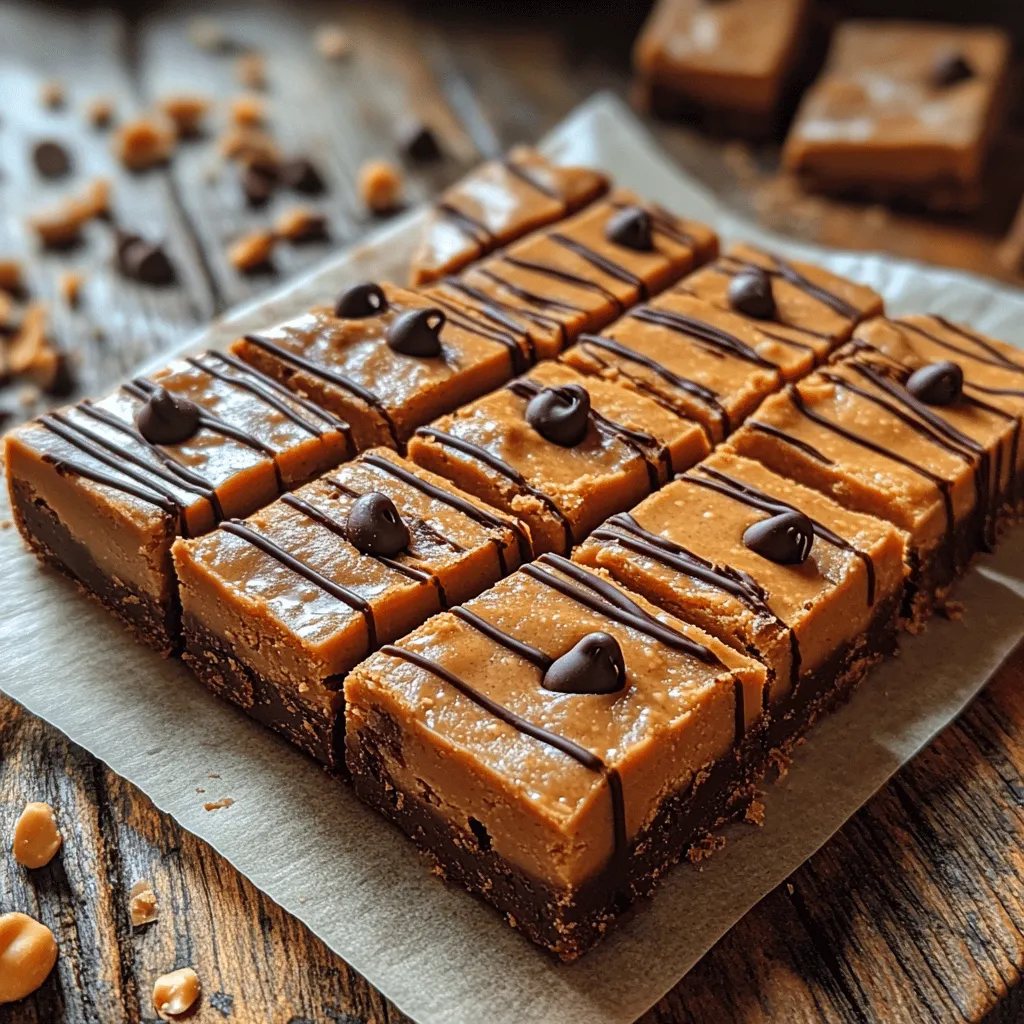
Cutting and Serving
When it comes to cutting the fudge, using a sharp knife is vital for achieving clean edges. Lift the fudge out of the pan using the parchment paper overhang and place it on a cutting board. Use a ruler to mark even squares or rectangles, ensuring that each piece is consistent in size for a professional look.
To cut, run the knife under hot water and dry it off; this will help create smoother cuts and prevent sticking. Cut through the fudge in a straight motion, wiping the knife clean after each cut if necessary.
For serving, consider placing the fudge squares in decorative cupcake liners for an appealing presentation. This not only makes them look irresistible but also allows for easy serving at gatherings.
Nutritional Information
Understanding the nutritional profile of your treats can help in managing portion sizes and enjoying them mindfully.
Understanding Serving Sizes
This Creamy Dreamy Peanut Butter Fudge recipe yields approximately 16 servings, depending on how you choose to cut the fudge. Each square provides a satisfying treat, making it perfect for sharing or enjoying a small piece at a time.
Caloric Content and Nutritional Benefits
Peanut butter is not only delicious but also boasts a variety of health benefits. Rich in protein, healthy fats, and essential vitamins such as Vitamin E and B6, peanut butter provides a great energy boost. However, it’s important to remember that it is calorie-dense, so moderation is key.
When indulging in sweets like fudge, pairing them with nutritious foods can help balance your diet. Consider enjoying a piece with a side of fruit or a handful of nuts for added fiber and nutrients. This way, you can satisfy your sweet cravings while still being mindful of your overall nutrition.
Storage and Shelf Life
Proper storage is crucial for maintaining the freshness and quality of your homemade fudge.
Storing Your Fudge
To keep your fudge fresh, store it in an airtight container at room temperature. If you live in a hot climate, refrigeration may be necessary to prevent it from becoming too soft. When storing in the fridge, ensure you use a container that seals well to avoid moisture absorption, which can affect texture and taste.
How Long Does Peanut Butter Fudge Last?
When stored correctly, homemade peanut butter fudge can last up to two weeks at room temperature. If you choose to refrigerate it, it can extend its shelf life to about three weeks. For longer storage, consider freezing the fudge. Wrap each piece in plastic wrap and place it in a freezer-safe container. When you’re ready to enjoy, simply thaw it in the refrigerator overnight.
Conclusion
In conclusion, the Creamy Dreamy Peanut Butter Fudge recipe offers a deliciously simple way to indulge your sweet cravings. With just a few basic ingredients and straightforward instructions, you can create a treat that is sure to impress. Whether enjoyed as a personal snack or shared during gatherings, this fudge is a timeless classic that brings smiles and satisfaction.
Embrace the joy of homemade sweets, and let your creativity shine by customizing this recipe to your taste. Consider adding different flavorings, mix-ins, or toppings to make it uniquely yours. Enjoy the delightful experience of crafting your very own peanut butter fudge!