Crispy Coconut Chicken with Chili Mango Dip Recipe
Introduction
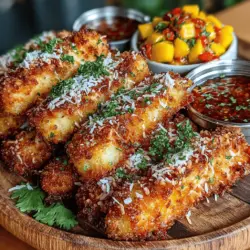
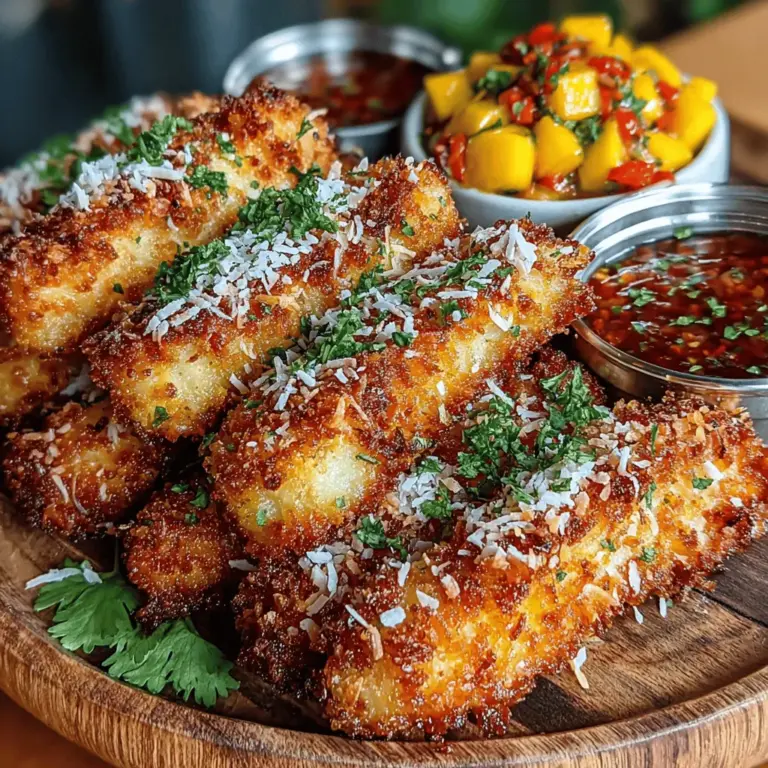
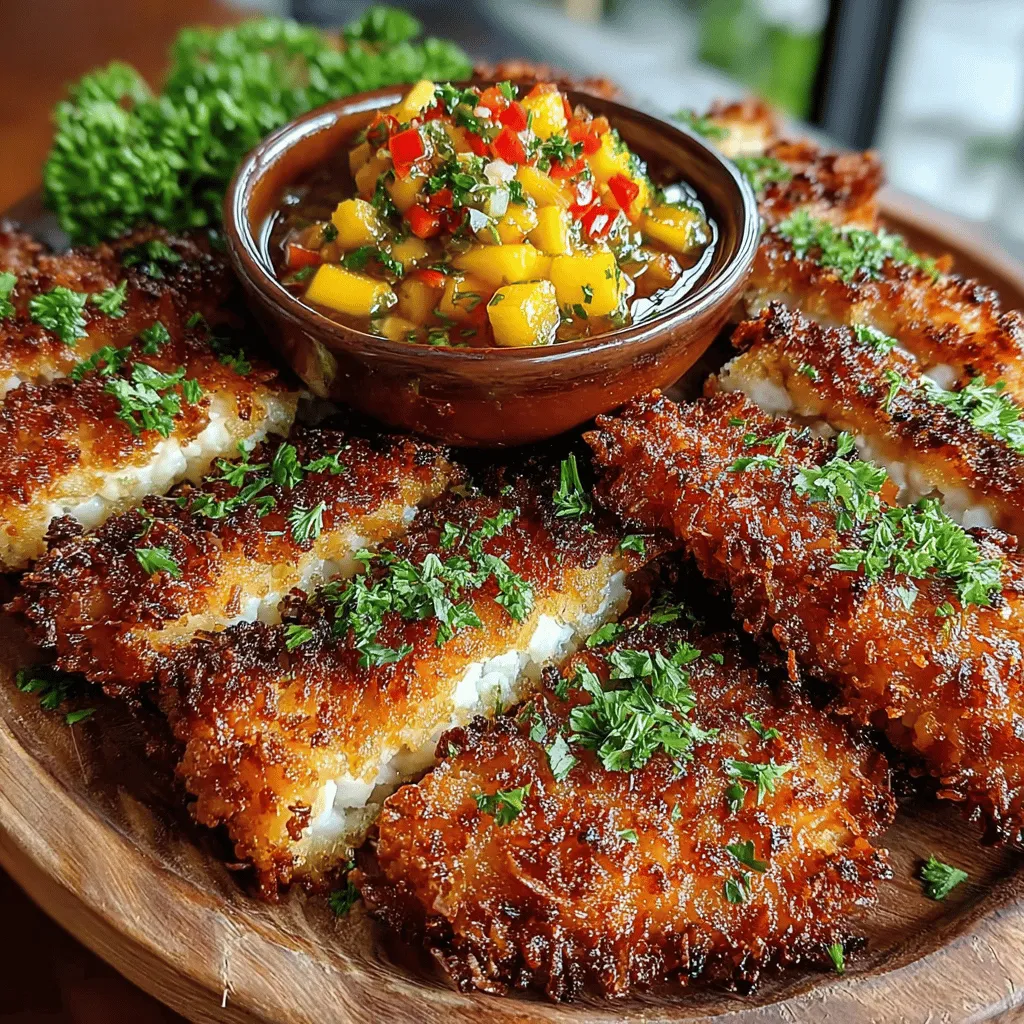
If you’re on the lookout for a dish that beautifully marries tropical flavors with a satisfying crunch, look no further than Crispy Coconut Chicken with Chili Mango Dip. This recipe offers an exotic experience that tantalizes the taste buds, making it a perfect choice for a family dinner, party appetizer, or even a quick weeknight meal. The combination of succulent chicken coated in a crispy coconut crust, paired with a sweet and spicy chili mango dip, creates a flavor profile that is both refreshing and addictive.
Coconut chicken has gained immense popularity across various cuisines, particularly in Southeast Asian and Caribbean dishes, known for their vibrant flavors and textures. What sets this dish apart is its crispy texture, achieved through a unique blend of ingredients that not only enhance the taste but also make for an appealing presentation. Whether served as a starter or a main course, this dish is sure to impress your guests and satisfy your cravings.
One of the best parts about Crispy Coconut Chicken is its simplicity. With just a few key ingredients and straightforward preparation steps, even novice cooks can create a culinary masterpiece. As you embark on this cooking adventure, prepare for a delightful experience that will have everyone coming back for seconds.
Understanding the Ingredients
To create the perfect Crispy Coconut Chicken with Chili Mango Dip, it’s essential to understand the role of each ingredient in the recipe. Each component contributes to the overall flavor, texture, and nutritional value of the dish.
Chicken Breast
The foundation of this recipe is fresh, high-quality chicken breast. Opting for organic or free-range chicken can significantly enhance the flavor and texture of your dish. Chicken breast is not only lean and packed with protein, making it a healthy choice, but it also serves as the perfect canvas for the flavors of the coconut and spices. When cooked correctly, it remains juicy and tender, providing the ideal contrast to the crispy coating.
Coconut
Unsweetened shredded coconut is a star ingredient in this recipe, playing a crucial role in achieving that desired crispy texture. The natural oils in coconut help to create a golden-brown crust when baked or fried, while its subtle sweetness complements the savory aspects of the chicken. Using unsweetened coconut ensures that the dish doesn’t become overly sweet, allowing the other flavors to shine through.
Panko Breadcrumbs
Panko breadcrumbs are a Japanese-style breadcrumb that is lighter, flakier, and crispier than traditional breadcrumbs. Their unique texture contributes significantly to the crunchiness of the coconut chicken, providing a satisfying bite. When combined with shredded coconut, panko breadcrumbs create a delightful contrast that elevates the dish’s overall appeal. Be sure to use panko for that extra crunch you won’t get from regular breadcrumbs.
Seasonings
The importance of seasonings in enhancing the flavor of the chicken cannot be overstated. Garlic powder, onion powder, and paprika work together to create a well-rounded taste, ensuring that each bite is packed with flavor. Garlic powder adds depth, onion powder provides a slight sweetness, and paprika introduces a subtle smokiness, contributing to the dish’s complexity. Adjusting these spices to your preference can elevate the dish to new heights.
Overview of the Chili Mango Dip Ingredients
To complement the crispy coconut chicken, the chili mango dip brings a delightful balance of sweetness and heat. Let’s take a closer look at the key ingredients that make this dip a standout.
Mango
Mango is the star of the dip, providing a naturally sweet and juicy base. Known for its rich flavor and vibrant color, mango is also a powerhouse of vitamins and minerals, including vitamin C, vitamin A, and fiber. The sweetness of ripe mangoes pairs beautifully with the heat from the chilies, creating a harmonious balance that enhances the overall experience of the dish.
Red Chilies
The addition of red chilies introduces a kick of heat to the dip. Depending on your spice tolerance, you can choose mild or hot varieties, or even adjust the quantity used to suit your taste. Red chilies not only add flavor but also bring a vibrant color to the dip, making it visually appealing. The heat from the chilies can be tempered with additional ingredients, allowing you to customize the dip to your liking.
Lime Juice and Honey
To bring the flavors together, lime juice and honey are essential components of the chili mango dip. Lime juice adds a zesty acidity that brightens the overall flavor, cutting through the sweetness of the mango and honey. Honey, on the other hand, enhances the dip’s natural sweetness while providing a touch of stickiness that helps to bind the ingredients together. This balance of flavors is crucial for creating a dip that complements the crispy coconut chicken perfectly.
Step-by-Step Preparation of the Coconut Chicken
Now that we’ve covered the ingredients, let’s delve into the step-by-step preparation process for the Crispy Coconut Chicken. This section will guide you through the essential steps to create a breading station and ensure the chicken is perfectly coated for that irresistible crunch.
Setting Up the Bread Station
Creating an efficient breading station is key to achieving optimal results with your coconut chicken. Start by gathering three shallow bowls to set up a breading assembly line. In the first bowl, add seasoned flour—simply mix all-purpose flour with a pinch of salt and pepper. In the second bowl, whisk together eggs until well beaten. The eggs act as a binding agent, helping the coating adhere to the chicken. In the third bowl, combine the unsweetened shredded coconut and panko breadcrumbs, along with the garlic powder, onion powder, and paprika.
Position the bowls in order: flour first, then eggs, and finally the coconut-panko mixture. This setup not only streamlines the breading process but also minimizes mess, allowing you to coat the chicken strips quickly and efficiently.
Breading the Chicken Strips
Once your breading station is ready, it’s time to bread the chicken. Begin by cutting the chicken breast into strips of even thickness, ensuring they cook uniformly. Pat the chicken strips dry with paper towels; this step is crucial, as it allows the breading to adhere better.
Start the breading process by dredging each chicken strip in the seasoned flour, ensuring it’s fully coated. Shake off any excess flour before dipping the chicken into the beaten eggs, allowing the egg to cling to the chicken. Finally, roll the chicken strip in the coconut-panko mixture, pressing gently to ensure an even coating. Repeat the process for all chicken strips, and place them on a plate or baking sheet when done.
This meticulous approach to breading is essential for achieving that coveted crispy coating. Each layer contributes to the final texture and flavor, making your crispy coconut chicken a dish that not only looks good but tastes incredible as well.
As you move through these initial steps, the anticipation of enjoying this delicious dish builds. Stay tuned for the next section, where we’ll dive into the cooking methods and tips for achieving perfectly crispy coconut chicken and a delightful chili mango dip that will elevate your meal to a restaurant-quality experience.
Tips on How to Properly Coat the Chicken
Achieving the perfect coat on your chicken is essential to enhance both flavor and texture. To start, ensure your chicken pieces are dry; excess moisture can prevent the coating from adhering properly. Use paper towels to pat the chicken dry before you begin the breading process.
1. Season Your Chicken: Before coating, season the chicken with salt and pepper. This step allows the flavors to penetrate the meat. You can also add garlic powder or paprika for an extra kick.
2. Use an Assembly Line: Set up a breading station with three shallow dishes – one for flour, one for beaten eggs, and another for the coconut breadcrumb mixture. This setup makes it easy to coat each piece thoroughly.
3. Double-Dip for Extra Crunch: For a thicker, crunchier crust, consider double-dipping. After the first coating of flour, egg, and coconut mixture, return the chicken to the egg and then back into the coconut coating. This extra layer will yield a more substantial crunch when fried.
4. Pressing the Coating: When placing the chicken in the coconut mixture, press down firmly to ensure the breadcrumbs adhere well. This technique helps create a beautiful, crispy exterior during frying.
Frying Techniques
Frying is an art, and mastering the technique is crucial for perfect crispy coconut chicken.
Best Practices for Frying
1. Oil Choice: Use a high smoke-point oil, such as vegetable oil, canola oil, or peanut oil, to achieve the best frying results. These oils can withstand high temperatures without burning and impart a neutral flavor.
2. Temperature Matters: Heat the oil to about 350°F (175°C) before adding the chicken. You can test the oil by dropping a small piece of bread; it should sizzle and turn golden brown within 60 seconds. If the oil is too hot, the coating will burn before the chicken cooks through; if it’s too cold, the chicken will absorb excess oil and become greasy.
3. Batch Cooking: Avoid overcrowding the pan, as this can lower the oil temperature and lead to uneven cooking. Fry in small batches to maintain the oil temperature and ensure every piece gets that desirable crispy texture.
4. Cooking Time: Fry the chicken for about 5-7 minutes on each side, depending on the size of the pieces. The chicken should be golden brown and have an internal temperature of 165°F (74°C) to ensure it is fully cooked.
Knowing When the Chicken is Perfectly Cooked
The visual cues are key indicators of perfectly cooked chicken. Look for a deep golden-brown color on the outside. To check for doneness, you can use a meat thermometer inserted into the thickest part of the chicken. If the internal temperature reaches 165°F (74°C), the chicken is ready to be removed from the oil. Alternatively, you can make a small incision to check that the juices run clear and the meat is no longer pink.
Creating the Chili Mango Dip
The dip is a vital companion to your crispy coconut chicken, providing a sweet and spicy contrast that elevates the dish. Here’s how to create the perfect chili mango dip.
Blending the Ingredients
1. Ingredients: You will need ripe mango, lime juice, chili flakes, honey or agave syrup, and fresh cilantro. Ensure the mango is fully ripe for the best sweetness and flavor.
2. Step-by-Step Instructions:
– In a blender or food processor, combine the diced mango, lime juice, and honey. Blend until smooth.
– Add chili flakes incrementally, blending and tasting until you reach your desired level of heat.
– If the mixture is too thick, you can add a splash of water to reach the desired consistency. Blend again until smooth.
Importance of Adjusting Seasoning and Heat
Tasting as you go is essential for perfecting your dip. The balance of sweetness from the mango and honey, acidity from the lime, and spiciness from the chili should harmonize. Feel free to tweak the quantities according to your preference; if you love spicy food, add more chili flakes, or if you prefer a milder flavor, reduce the amount.
The Role of Fresh Herbs
Adding fresh cilantro not only enhances the flavor but also adds a burst of color to your dip. After blending, stir in finely chopped cilantro or use it as a garnish on top. Cilantro brings a refreshing element that complements the sweetness and heat of the dip beautifully.
Serving Suggestions
Presentation is key when serving your crispy coconut chicken and chili mango dip. Here are some tips to elevate your serving game:
1. Plating: Arrange the chicken pieces on a large platter, ensuring they are not overcrowded. Serve the chili mango dip in a small bowl in the center or alongside the chicken. Garnish the dip with additional cilantro or chili flakes for a pop of color.
2. Pairing Ideas: This dish pairs beautifully with a side of jasmine rice or a simple green salad with a light vinaigrette. For a more substantial meal, consider serving it with coconut rice or grilled vegetables.
3. Versatile Occasions: Crispy coconut chicken with chili mango dip is incredibly versatile. It makes a fantastic appetizer for parties, a fun dish for family gatherings, or a delightful main course. You can serve it at casual get-togethers or as part of a more formal meal, making it suitable for any occasion.
Nutritional Information
Understanding the nutritional benefits of your ingredients can enhance your appreciation of this dish.
1. Coconut: Rich in healthy fats, coconut provides energy and supports heart health. The fibers in shredded coconut can also aid digestion.
2. Chicken: A lean source of protein, chicken breasts are low in calories and high in essential nutrients, making them a healthy choice for any diet.
3. Mango: Packed with vitamins A and C, mangoes are not only delicious but also beneficial for skin health and immune function. They also provide antioxidants which help combat oxidative stress.
4. Calories and Health Considerations: While this dish is indulgent, it can fit into a balanced diet when enjoyed in moderation. A serving of crispy coconut chicken with chili mango dip is approximately 400-500 calories, depending on portion size and the amount of dip used.
Conclusion
Making crispy coconut chicken with chili mango dip is a delightful culinary adventure that promises to impress family and friends alike. The combination of crunchy, flavorful chicken paired with a sweet and spicy dip creates a memorable dining experience. Whether you’re serving it as an appetizer or a main course, this recipe is sure to become a favorite in your home.
With a few simple techniques and fresh ingredients, you can elevate your cooking and enjoy this dish any night of the week. So roll up your sleeves, gather your ingredients, and indulge in the deliciousness of crispy coconut chicken with chili mango dip. Your taste buds will thank you!