Chocolate Coconut Bliss Cups Recipe
Introduction
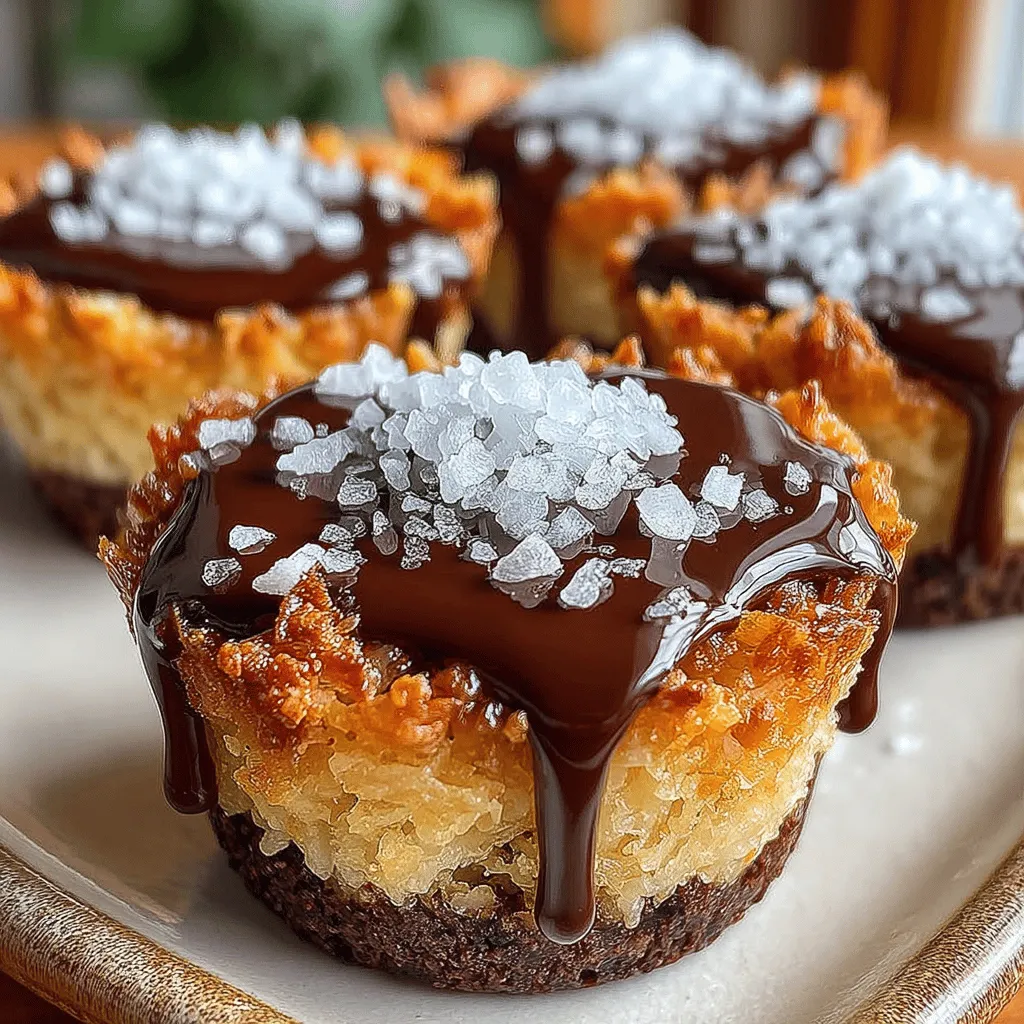
The delightful combination of chocolate and coconut has long captured the hearts and taste buds of dessert lovers around the world. These two ingredients not only provide a rich and indulgent flavor but also evoke a sense of tropical paradise with each bite. Whether enjoyed in a classic chocolate coconut cake or a simple coconut macaroon, this pairing is synonymous with comfort and joy. Among the myriad of recipes that celebrate this duo, Chocolate Coconut Bliss Cups stand out as a delectable, healthier treat that satisfies sweet cravings without the guilt.
What sets Chocolate Coconut Bliss Cups apart is their no-bake nature, making them the perfect dessert for those who want something quick, easy, and delicious—regardless of their baking experience. These bliss cups allow anyone to whip up a delightful snack or dessert in just a few simple steps, making them ideal for busy individuals or families looking to indulge without spending hours in the kitchen. The combination of wholesome ingredients ensures not only a delicious end product but also a nutritious one, appealing to health-conscious eaters everywhere.
Understanding the Ingredients
Before diving into the step-by-step instructions for making Chocolate Coconut Bliss Cups, it’s important to familiarize ourselves with the key ingredients that contribute to their flavor and nutritional profile. Each element plays a significant role in creating a delicious, healthy treat.
Unsweetened Shredded Coconut
At the heart of this recipe is unsweetened shredded coconut, which provides a chewy texture and rich coconut flavor. This ingredient is loaded with healthy fats, particularly medium-chain triglycerides (MCTs), which are known for their potential benefits in boosting energy and supporting metabolism. Additionally, coconut is a good source of dietary fiber, promoting digestive health and helping to keep you feeling full longer.
Almond Flour
For those looking for a gluten-free alternative to traditional flour, almond flour is a fantastic choice. Made from finely ground almonds, this flour is not only gluten-free but also rich in protein, healthy fats, and essential nutrients such as vitamin E and magnesium. Incorporating almond flour into your Chocolate Coconut Bliss Cups not only enhances their nutty flavor but also adds a nutritional boost, making these treats even more satisfying.
Cocoa Powder
Cocoa powder is another star ingredient in this recipe. Packed with antioxidants, particularly flavonoids, cocoa powder is known for its potential health benefits, including improved heart health and enhanced mood. Its deep, rich flavor elevates the overall taste of the bliss cups, providing that unmistakable chocolatey goodness that we all crave.
Maple Syrup vs. Honey
When it comes to sweetening our Chocolate Coconut Bliss Cups, natural sweeteners like maple syrup and honey are excellent choices. Maple syrup, derived from the sap of sugar maple trees, offers a unique flavor profile and is rich in vitamins and minerals, including manganese and zinc. On the other hand, honey brings its own distinct sweetness and has been celebrated for its potential antibacterial properties. Both options are preferable to refined sugars, allowing you to indulge your sweet tooth in a healthier way.
Coconut Oil
Coconut oil plays a dual role in this recipe: it helps bind the ingredients together and adds a subtle coconut flavor. This oil is known for its medium-chain fatty acids, which can provide a quick source of energy. Additionally, coconut oil has been associated with various health benefits, including improved heart health and antimicrobial properties.
Dark Chocolate
Quality matters when it comes to choosing chocolate for your bliss cups. Dark chocolate, with a cocoa content of 70% or higher, is not only delicious but also offers a range of health benefits, including antioxidants and potential heart health improvements. Selecting high-quality dark chocolate ensures that you’re getting the most flavor and health benefits in your treat.
Sea Salt
Finally, a pinch of sea salt is essential for balancing the flavors in your Chocolate Coconut Bliss Cups. Salt enhances sweetness and richness, making the chocolate and coconut flavors pop. Using sea salt, which is less processed than table salt, can also contribute trace minerals to your recipe.
Step-by-Step Instructions
Preparing the Muffin Tin
Before you begin mixing ingredients, it’s important to prepare your muffin tin. This will ensure that your Chocolate Coconut Bliss Cups come out easily and maintain their shape. Using cupcake liners is highly recommended, as they facilitate easy removal and cleanup.
Tips for Lining the Muffin Tin Effectively:
– Choose high-quality liners that fit snugly in the muffin tin. This prevents them from collapsing during the filling process.
– Lightly spray the inside of the liners with a non-stick spray to further ensure easy removal.
Mixing the Dry Ingredients
Once your muffin tin is prepared, it’s time to mix the dry ingredients. In a large mixing bowl, combine unsweetened shredded coconut, almond flour, cocoa powder, and a pinch of sea salt.
Importance of Even Blending for Consistent Texture:
– Whisk the dry ingredients together thoroughly to ensure that they are well combined. This step is crucial because it helps achieve a uniform texture and flavor throughout your bliss cups.
– Take care to break up any clumps of almond flour or cocoa powder, as this will help create a smooth and consistent batter.
Combining the Wet Ingredients
Next, it’s time to prepare the wet ingredients. In a separate bowl, melt the coconut oil until it becomes liquid. Then, add in the maple syrup (or honey) and a splash of vanilla extract. Use a whisk or fork to mix these wet ingredients together until they are smooth and well combined.
Tips for Preventing Clumping in the Mixture:
– Ensure the coconut oil is fully melted before adding it to the other wet ingredients to avoid clumping.
– If using honey, you may want to warm it slightly to make it easier to mix with the other ingredients.
Merging Wet and Dry Mixtures
Now that both your dry and wet ingredients are prepared, it’s time to bring them together. Pour the wet mixture into the bowl containing the dry ingredients. Stir gently but thoroughly until everything is well combined, and a cohesive mixture forms.
The resulting batter should be thick and sticky, holding together well but not overly wet. If the mixture appears too dry, you can add a teaspoon of water or more coconut oil to achieve the desired consistency.
By following these initial steps, you’re well on your way to creating delicious Chocolate Coconut Bliss Cups that are not only easy to make but also packed with nutritious ingredients. Stay tuned for the next part, where we’ll cover the final steps to complete this delightful treat!