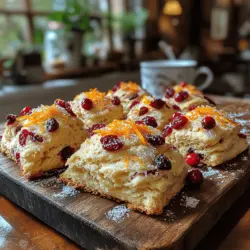
Bright Orange Cranberry Scones Recipe
Scones are a beloved treat that has charmed tea tables and breakfast nooks alike for generations. Their crumbly texture and buttery goodness make them a perfect addition to any meal or gathering. Whether enjoyed with a dollop of clotted cream or a smear of jam, scones offer an inviting experience that transcends the simple act of eating. They hold a special place in many hearts, often associated with cozy mornings or elegant afternoon teas. Among the myriad of flavors that can be explored, the combination of bright orange and tart cranberry stands out as particularly delightful, bringing together sweetness and acidity in a refreshing way.
The unique flavor pairing of orange and cranberry not only excites the palate but also evokes the essence of seasonal celebrations. The vibrant orange zest adds a citrusy punch that perfectly complements the tartness of cranberries, resulting in a scone that is both bright and flavorful. Whether you are preparing for a holiday brunch, hosting a tea party, or simply indulging on a quiet weekend morning, these scones are versatile enough to elevate any occasion.
Understanding Scones: A Brief History
To truly appreciate scones, it’s essential to understand their rich history. Originating in the United Kingdom, scones are believed to have first appeared in the early 16th century. Traditionally, they were made with oats and baked on a griddle, evolving over the years into the flour-based pastries we know today. The introduction of baking powder in the 19th century revolutionized scone recipes, allowing them to rise and achieve their iconic texture.
Scones hold a significant cultural place in British tea traditions. The afternoon tea, popularized by the Duchess of Bedford in the 1840s, often features scones served with cream and preserves. This practice quickly became a cherished ritual, spreading beyond Britain and inspiring variations around the globe. Today, scones are enjoyed in many forms, adapted to suit regional tastes and available ingredients.
Key Ingredients for Bright Orange Cranberry Scones
Creating the perfect Bright Orange Cranberry Scones requires a handful of essential ingredients, each playing a crucial role in achieving the desired texture and flavor. Understanding these components can help you appreciate the craftsmanship behind this delightful treat.
– All-Purpose Flour: The backbone of any scone recipe, all-purpose flour provides structure and texture. It gives the scones their crumbly yet tender quality, essential for that melt-in-your-mouth experience.
– Granulated Sugar: While scones are not overly sweet, granulated sugar balances the tartness of cranberries and enhances the overall flavor profile. A touch of sweetness is crucial for a well-rounded scone.
– Baking Powder: This leavening agent is vital for creating a light and airy texture. The right amount of baking powder helps the scones rise properly, ensuring they are fluffy rather than dense.
– Salt: A small amount of salt enhances the flavors of the other ingredients, making the scones taste more complex and satisfying.
– Unsalted Butter: The key to flaky, rich scones, unsalted butter adds moisture and flavor. Its cold temperature is essential during preparation, as it creates steam while baking, resulting in a tender crumb.
– Cranberries: You can choose between fresh or dried cranberries, each offering distinct flavor profiles. Fresh cranberries provide a burst of tartness, while dried cranberries contribute a sweeter note. Both variations will create a delicious contrast against the orange zest.
– Orange Zest and Juice: The zest of an orange infuses the scones with bright, citrusy notes, while the juice adds a subtle acidity. Together, they create a refreshing flavor that lifts the scone from ordinary to extraordinary.
– Heavy Cream: This ingredient contributes to the scones’ moisture and richness, ensuring that they are tender and not dry. The cream works in harmony with the butter for an indulgent result.
– Egg and Vanilla Extract: The egg acts as a binding agent, providing structure and stability to the scone, while vanilla extract enhances the overall flavor, adding warmth and depth.
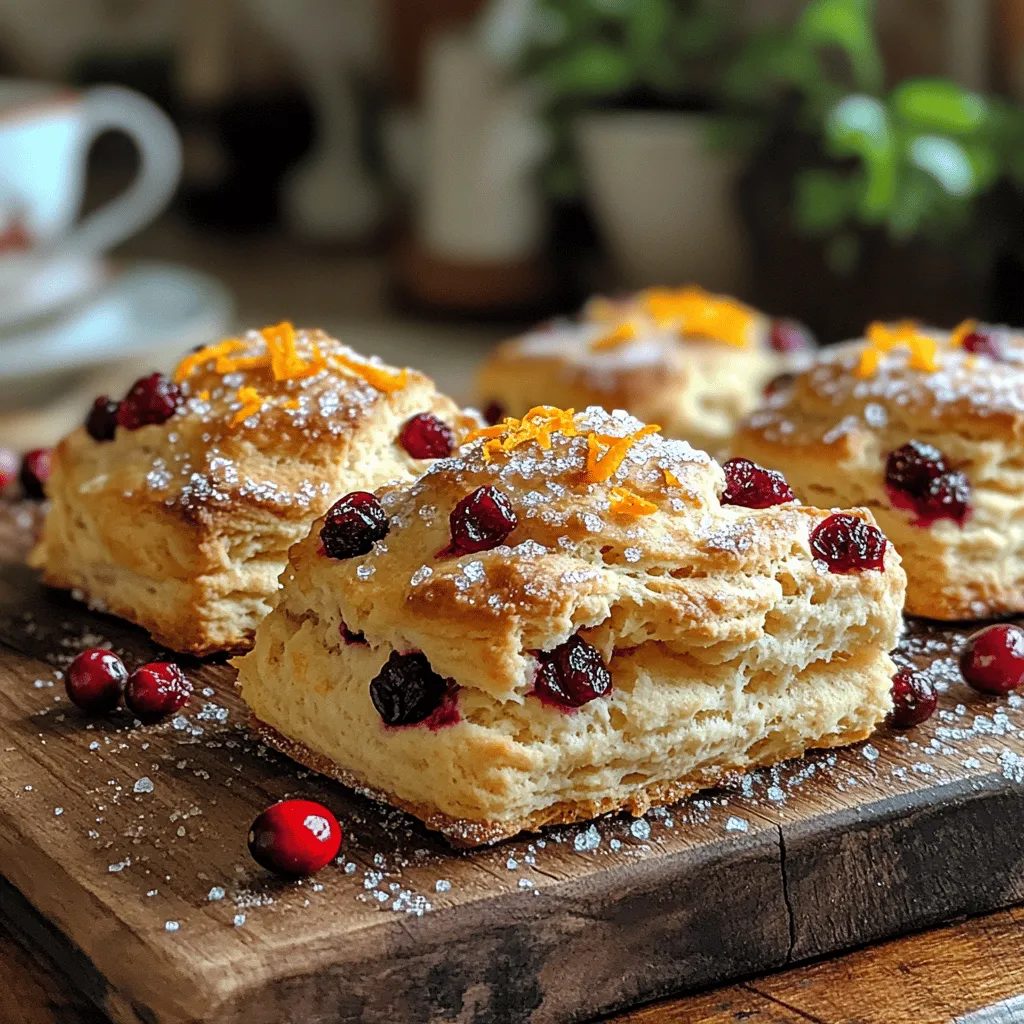
– Coarse Sugar for Topping: Sprinkling coarse sugar on top before baking adds a delightful crunch and enhances the sweetness of the scones, making them visually appealing as well.
Step-by-Step Guide to Making Orange Cranberry Scones
Before diving into the baking process, it’s important to prep your kitchen with the necessary tools and equipment. A cutting board, mixing bowls, a whisk, a pastry cutter, and a baking sheet lined with parchment paper will make the process smooth and efficient.
Preheat the Oven
Start by preheating your oven to 400°F (200°C). Proper oven temperature is crucial for baking scones, as it ensures they rise correctly and develop a golden-brown crust. An adequately heated oven helps to achieve the perfect balance of a flaky exterior and a tender interior.
Mixing the Dry Ingredients
In a large mixing bowl, combine the all-purpose flour, granulated sugar, baking powder, and salt. Whisk these dry ingredients together thoroughly to ensure even distribution of the baking powder and salt. This step is vital, as it prevents any pockets of baking powder from forming, which could lead to uneven rising.
Cutting in the Butter
Next, it’s time to cut in the cold unsalted butter. Using a pastry cutter or your fingertips, work the butter into the flour mixture until it resembles coarse crumbs. The key here is to be gentle; overmixing can lead to tough scones. You want to leave small bits of butter intact, as they will melt during baking, creating flaky layers.
As you embark on this baking adventure, remember that the joy of making scones lies not just in the end result, but in the process itself. The enchanting aroma of fresh orange and cranberry wafting through your kitchen will surely set the stage for a delightful treat that’s perfect for any occasion.
Techniques for Achieving the Right Texture
To create perfectly flaky and tender scones, mastering the texture is key. The goal is to achieve a light and airy structure that melts in your mouth. Here’s how to get there:
1. Cold Ingredients: Start with cold butter and cream. Cold butter creates small pockets of steam during baking, leading to a flaky texture. Ensure other liquids, such as buttermilk or cream, are also chilled.
2. Minimal Mixing: When combining dry and wet ingredients, mix just until they come together. Overworking the dough develops the gluten in the flour, resulting in dense scones. Look for a shaggy dough that holds together but is not smooth.
3. Gentle Folding: When adding cranberries and zest, fold them into the dough gently. This keeps the fruit intact and prevents breaking, which can release excess moisture into the scones.
Incorporating Cranberries and Zest
When it comes to adding cranberries and zest to your scone dough, even distribution is crucial for a balanced flavor in every bite.
– Tips for Even Distribution Without Breaking the Fruit:
– Dried Cranberries: If you’re using dried cranberries, chop them into smaller pieces to ensure they spread evenly. This also makes it easier for the scone to rise as they won’t weigh the dough down.
– Fresh Zest: Use a microplane or zester to finely grate the orange peel. This allows the zest to disperse throughout the dough without clumping, enhancing the citrus flavor in each scone.
Combining Wet Ingredients
Mixing wet ingredients separately before adding them to the dry mixture is a vital step that should not be overlooked.
– Importance of Mixing Wet Ingredients Separately:
– Homogeneous Mixture: Combining the cream, egg, and zest in a separate bowl ensures that the egg is fully incorporated and the zest is evenly distributed. This results in a uniform dough, allowing for consistent flavor and texture in your scones.
– Temperature Control: By mixing wet ingredients separately, you can monitor their temperature and ensure they remain cold, which is crucial for the final texture of the scones.
Forming the Dough
After combining your ingredients, assessing the dough’s consistency is essential for achieving perfect scones.
– Signs of Perfect Dough Consistency:
– The dough should be barely sticky but hold together when pressed. It should not be too wet or too dry. If it’s overly sticky, sprinkle a bit more flour; if too dry, add a teaspoon of cream.
– A well-formed dough will have a rough texture with visible flecks of butter, which will help create layers during baking.
Shaping the Scones
The way you shape your scones can influence their texture and presentation.
– Various Shaping Techniques:
– Wedges: For traditional scone shapes, pat the dough into a circle about 1 inch thick and cut it into wedges. This method encourages the scones to rise evenly and creates delightful crusty edges.
– Rounds: Alternatively, you can use a biscuit cutter to shape the scones into rounds. This method gives a more uniform appearance but may require additional baking time due to the thicker edges.
Preparing for Baking
Before sliding your scones into the oven, a little prep goes a long way in achieving that golden-brown finish.
– The Egg Wash Technique and Its Benefits:
– An egg wash—beaten egg mixed with a splash of cream or milk—provides a beautiful sheen and enhances the color of the baked scones. Brush this mixture gently over the tops of the shaped scones before baking for a professional finish.
Baking the Scones
Baking is where the magic happens, but timing isn’t the only factor to consider.
– Indicators of Doneness Beyond Time:
– Color: Look for a rich golden-brown color on the tops and bottoms. If the scones are pale, they may need more time in the oven.
– Toothpick Test: Insert a toothpick into the center of a scone. If it comes out clean or with a few moist crumbs, the scones are done. A wet toothpick means they need additional baking time.
Cooling and Serving
Once out of the oven, it’s essential to cool your scones properly to maintain their texture and flavor.
– Best Practices for Cooling and Serving Suggestions:
– Allow the scones to cool on a wire rack for at least 10 minutes to prevent them from becoming soggy. This cooling period helps maintain their flaky structure.
– Serve warm or at room temperature with a generous spread of butter, clotted cream, or your favorite jam. For a citrus twist, consider pairing with orange marmalade.
Variations and Customizations
One of the joys of baking scones is experimenting with different flavors and ingredients.
– Suggestions for Ingredient Swaps:
– Different Fruits: Try using blueberries, raspberries, or chopped strawberries in place of cranberries for a seasonal twist. Each fruit will bring its unique flavor profile.
– Flavorings: Consider adding a hint of vanilla extract or almond extract for depth. A pinch of lemon zest can also enhance the overall citrus flavor.
– Ideas for Adding Spices:
– Spices: Incorporating spices like cinnamon, nutmeg, or cardamom adds warmth and complexity to your scones. Start with 1/2 teaspoon for a subtle hint and adjust according to your taste.
– Alternative Toppings and Glazes:
– For a sweet finish, drizzle a simple glaze made from powdered sugar and orange juice over the cooled scones. This adds an extra layer of flavor and a beautiful presentation.
Pairing Suggestions for Scones
To elevate your scone experience, consider pairing them with the right beverages and accompaniments.
– Beverages That Complement Scones:
– A cup of freshly brewed tea, such as Earl Grey or chamomile, pairs beautifully with the bright flavors of the scones. If you prefer coffee, a light roast will balance the sweetness without overpowering it.
– For a refreshing twist, serve with a citrus-infused drink, such as lemonade or sparkling water with a slice of orange.
– Ideal Accompaniments:
– Serve your scones with whipped butter, honey, or fruit preserves. Clotted cream is a classic choice that adds a rich and creamy texture, enhancing the scone’s flavor.
Nutritional Information
Understanding the nutritional content of your culinary creations can help you make informed choices.
– Breakdown of Calories and Key Nutrients Per Scone:
– Each scone generally contains approximately 200 calories, depending on the size and specific ingredients used. They typically offer a moderate source of carbohydrates and fats, with a small amount of protein.
– Discussion on Dietary Alternatives:
– For those looking for gluten-free options, substitute all-purpose flour with a gluten-free baking blend.
– If reducing sugar, consider using a sugar substitute or reducing the amount of sugar by a quarter without compromising the taste.
Conclusion
Baking Bright Orange Cranberry Scones is not just about following a recipe; it’s about the joy of creating something delightful that can be shared with family and friends. The combination of tart cranberries and zesty orange creates a treat that is both refreshing and satisfying.
We encourage you to try this recipe and enjoy the process of baking these delicious scones in your own kitchen. The satisfaction of pulling freshly baked scones from your oven, paired with a warm beverage and good company, is a rewarding experience. Happy baking!