
Introduction
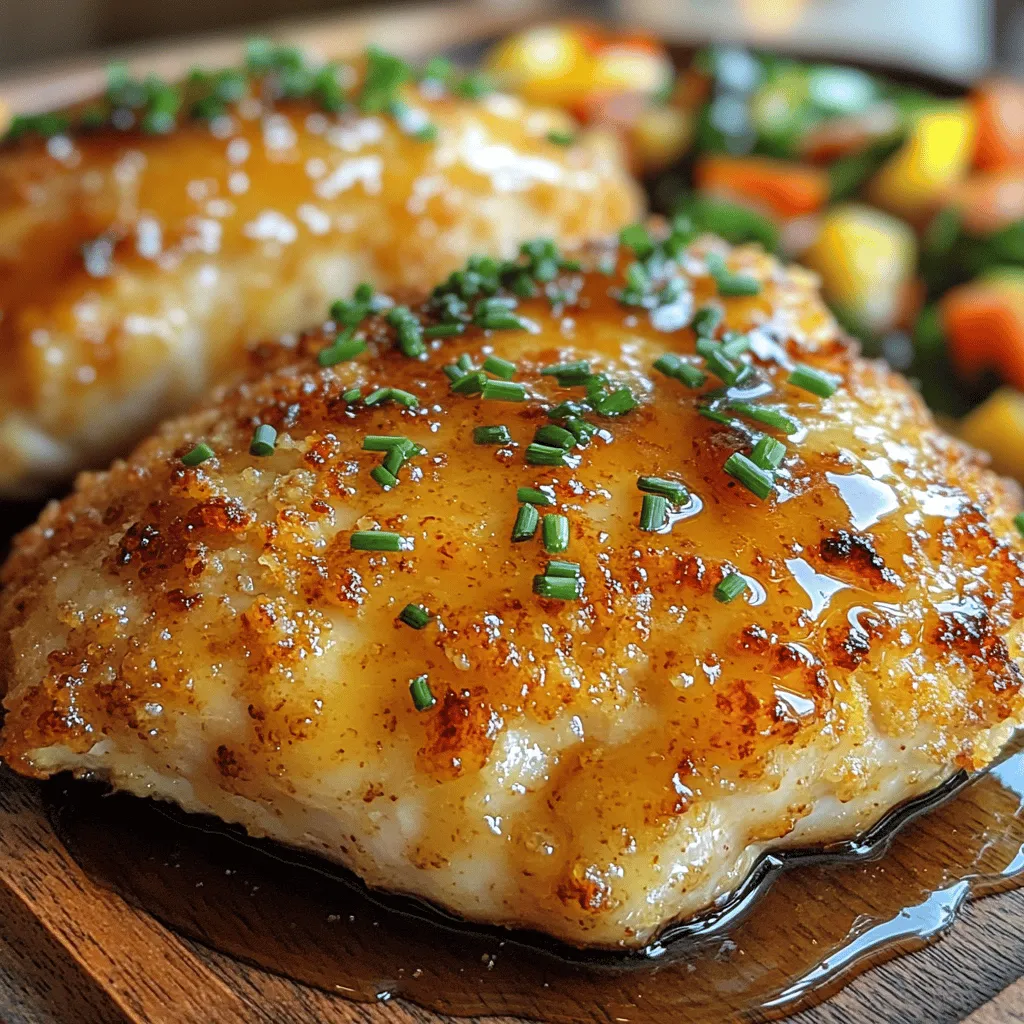
If you’re searching for a delightful and satisfying dish to elevate your dinner game, look no further than Double Crunch Honey Garlic Chicken Breasts. This recipe combines the irresistible sweetness of honey with the savory depth of garlic, creating a flavor profile that is both comforting and exciting. What truly sets this dish apart is the double crunch; the use of panko breadcrumbs not only enhances the texture but also adds a delightful crispiness that contrasts beautifully with the juicy chicken breasts.
Double Crunch Honey Garlic Chicken Breasts are incredibly versatile, making them perfect for family dinners, special occasions, or even meal prep for the week ahead. Whether you’re hosting a dinner party or simply looking to spice up your weeknight meals, this dish is sure to impress your guests and family alike. The balance of flavors and textures ensures that each bite is a celebration of culinary delight.
Understanding the Key Ingredients
Chicken Breasts
When it comes to the protein base for this dish, boneless, skinless chicken breasts are the star of the show. These cuts are not only convenient and easy to work with but also lean, making them a healthier option compared to other meats. Chicken breasts are known for their mild flavor, which allows them to soak up the marinade beautifully, ensuring a juicy and flavorful final product.
Choosing quality chicken is essential; look for fresh, organic options when possible. Not only does this enhance the taste, but it also ensures that you’re serving a dish that is better for your health. Chicken breasts cook quickly and evenly, making them an ideal choice for weeknight dinners when time is of the essence.
Marinade Components
The marinade is where the magic begins, and it plays a critical role in the overall flavor and moisture retention of the chicken. The star ingredients here are honey and soy sauce. Honey provides natural sweetness that caramelizes beautifully during cooking, creating a sticky glaze that clings to the chicken. This not only adds flavor but also moisture, ensuring that your chicken doesn’t dry out in the cooking process.
Soy sauce, on the other hand, brings a savory umami depth that complements the sweetness of the honey perfectly. Together, they create a harmonious balance of flavors that enhance the chicken without overwhelming it.
Adding garlic is essential for this recipe, as it infuses the chicken with aromatic flavor. Fresh garlic is recommended for its robust taste, but garlic powder can also be used as a convenient alternative. To add an extra kick, consider incorporating ginger or onion powder into the marinade, which will enhance the overall flavor profile and provide a bit of warmth to the dish.
Breading Elements
For the double crunch effect, we turn to a classic breading trio: all-purpose flour, eggs, and panko breadcrumbs. Each component plays a crucial role in achieving that perfect texture.
All-purpose flour is the first layer of the breading process, providing a light, even coating that helps the egg adhere to the chicken. This step is critical for ensuring that the breadcrumbs stick well and create a satisfying crunch when cooked.
Next, we have eggs, which act as a binding agent. Beaten eggs provide moisture and help the breadcrumbs cling to the chicken, ensuring that each piece is thoroughly coated.
Finally, panko breadcrumbs take the spotlight. Unlike traditional breadcrumbs, panko is coarser and lighter, resulting in a crispier texture when fried or baked. This unique quality gives the Double Crunch Honey Garlic Chicken Breasts their signature crunch and makes them a standout dish.
Preparation Steps Detailed
Creating the Marinade
To start, you’ll need to create the marinade that will infuse your chicken with flavor. In a medium mixing bowl, combine the honey, soy sauce, minced garlic, and any additional spices you choose to include. For a well-rounded flavor, aim for a balance between the sweetness of the honey and the saltiness of the soy sauce.
A tip for achieving a perfectly balanced marinade is to taste it before adding the chicken. If it feels too sweet, add a bit more soy sauce; if it’s too salty, a touch more honey can help. Additionally, incorporating a splash of rice vinegar or lime juice can add a refreshing tang that brightens the overall flavor.
Once the ingredients are combined, whisk them together until you have a smooth, cohesive mixture. This step ensures that all the flavors meld together beautifully, providing a robust taste that will penetrate the chicken during the marination process.
Marinating the Chicken
With your marinade ready, it’s time to prepare the chicken breasts. Place the cleaned and trimmed chicken breasts into a resealable plastic bag or a shallow dish. Pour the marinade over the chicken, ensuring that each piece is thoroughly coated. Seal the bag or cover the dish and refrigerate for at least 30 minutes, although marinating for 1-2 hours is ideal for maximum flavor penetration.
The marination time is crucial; it allows the chicken to absorb the flavors of the marinade, resulting in juicier and more flavorful meat. If you have the time, marinating overnight is even better, as it gives the flavors ample time to develop.
When marinating, it’s important to follow safe food handling practices. Always refrigerate the chicken while it marinates, and discard any leftover marinade that has come into contact with raw chicken to avoid cross-contamination.
Setting Up a Breading Station
As the chicken marinates, you can set up your breading station to streamline the cooking process. A well-organized workspace makes it easier to coat the chicken evenly and efficiently.
Begin by gathering your breading ingredients: all-purpose flour, beaten eggs, and panko breadcrumbs. Arrange three shallow dishes in a row. In the first dish, add the flour. In the second, pour the beaten eggs. In the third, place the panko breadcrumbs.
To make the process even more efficient, you can use one hand for the dry ingredients (flour and breadcrumbs) and the other for the wet ingredient (eggs). This method helps prevent clumping and ensures a more even coating.
Before you start breading the chicken, make sure to have a baking sheet lined with parchment paper or a greased baking dish ready to go. This will be where your breaded chicken breasts rest before cooking.
With your breading station set up, you’re now prepared to move on to the next steps of the recipe, where the real magic happens in creating the crispy, golden-brown exterior that pairs perfectly with the sweet and savory flavors of the honey garlic marinade.
Stay tuned as we delve deeper into the cooking methods and tips to achieve the ultimate Double Crunch Honey Garlic Chicken Breasts that will leave your taste buds dancing!
Breading Techniques
Achieving the perfect crunch on your Double Crunch Honey Garlic Chicken Breasts starts with mastering the art of breading. This step is crucial as it determines the texture and flavor profile of the final dish. Here’s how to ensure an even coating with panko breadcrumbs, renowned for their light, airy crunch.
1. Prepare Your Breading Station: Set up three shallow dishes: one for flour (mixed with salt and pepper), one for beaten eggs, and one for panko breadcrumbs. The assembly line method allows for efficient breading without making a mess.
2. Coat in Flour: Begin by dredging each chicken breast in the seasoned flour. Make sure to shake off any excess flour to avoid clumps, which can prevent the egg from adhering properly.
3. Dip in Egg: Next, dip the floured chicken into the beaten eggs. Ensure that the egg coats the chicken evenly, as this will help the panko stick. Let any excess egg drip off before moving to the next step.
4. Panko Coating: Finally, press the chicken breasts into the panko breadcrumbs, turning and pressing gently to ensure an even coating. The panko should adhere well, giving the chicken its signature crunch. For extra crunch, consider double-coating by repeating the egg and panko steps.
5. Rest the Battered Chicken: Let the breaded chicken sit for about 10-15 minutes before frying. This resting period helps the coating adhere better during cooking, ensuring it doesn’t fall off in the oil.
Cooking the Chicken
Heating the Oil
Proper oil temperature is key to achieving that crispy golden exterior while keeping the meat juicy inside. For frying, you’ll want to heat your oil to approximately 350°F (175°C). A kitchen thermometer is invaluable for this process, but you can also test the oil with a small piece of bread; if it sizzles and turns golden brown in about 60 seconds, the oil is ready.
Frying Instructions
1. Avoid Overcrowding the Pan: When placing the chicken in the oil, be mindful not to overcrowd the pan. This can lower the oil temperature and lead to soggy chicken. Fry in batches if necessary, ensuring there is enough space between each piece for even cooking.
2. Fry Until Golden Brown: Cook the chicken for about 4-5 minutes on each side, or until it reaches a beautiful golden brown color. Use tongs to flip the chicken, ensuring that it cooks evenly and maintains its breading.
3. Monitor Internal Temperature: To ensure food safety, use a meat thermometer to check the internal temperature of the chicken. It should reach at least 165°F (75°C). This step is vital for both safety and achieving the desired juiciness.
Resting the Chicken
Once cooked, transfer the chicken to a wire rack set over a baking sheet. This allows excess oil to drain off and helps maintain the crispiness of the coating. Let the chicken rest for about 5-10 minutes; this resting period allows the juices to redistribute throughout the meat, resulting in a moist and flavorful bite.
Serving Suggestions
Garnishing the Dish
Presentation is key when serving your Double Crunch Honey Garlic Chicken. Here are a few garnishing ideas to elevate your dish:
– Fresh Herbs: Sprinkle chopped parsley, cilantro, or chives over the chicken for a pop of color and fresh flavor.
– Sesame Seeds: A light sprinkle of sesame seeds adds a nutty flavor and aesthetic appeal.
– Lemon Wedges: Serve with lemon wedges on the side for a zesty finish that complements the sweetness of the honey.
Complementary Side Dishes
Pair your honey garlic chicken with side dishes that balance its rich flavors. Here are some recommendations:
– Fluffy Rice: A bed of steamed jasmine or basmati rice soaks up the honey garlic sauce beautifully.
– Steamed Vegetables: Broccoli, green beans, or snap peas add a vibrant color and nutritional value to your meal.
– Fresh Salad: A crisp salad with mixed greens, cucumber, and a light vinaigrette provides a refreshing contrast to the rich chicken.
Nutritional Information
Understanding the nutritional value of your meal is crucial for maintaining a balanced diet. Here’s a breakdown of the key nutritional values per serving of Double Crunch Honey Garlic Chicken Breasts:
– Calories: Approximately 380 calories
– Protein: 33g
– Carbohydrates: 30g
– Fat: 15g
– Fiber: 2g
– Sugar: 8g
Health Benefits of Ingredients
– Chicken Breast: A lean source of protein, chicken breast is essential for muscle repair and growth, making it a great choice for those seeking to maintain a healthy diet.
– Honey: Natural sweeteners like honey not only provide sweetness but also offer antioxidant properties and are known to have anti-inflammatory effects.
– Panko Breadcrumbs: While higher in carbs, panko provides a unique texture that can make a meal more satisfying, allowing you to enjoy the crunch without overwhelming calories.
Conclusion
The Double Crunch Honey Garlic Chicken Breasts are a delightful combination of flavors and textures that are bound to impress your family and friends. With its crispy coating and sweet, savory glaze, this dish is not only easy to prepare but also suitable for various occasions, from casual weeknight dinners to special celebrations.
Encouraging your culinary creativity, this recipe allows for substitutions and modifications to cater to different dietary preferences. Whether you choose to serve it with rice, vegetables, or a light salad, the versatility of this chicken dish ensures that it can be tailored to fit any meal plan.
By trying out this recipe, you’ll not only enjoy a delicious homemade dish but also the satisfaction that comes with cooking. Embrace the joy of cooking and share this delightful meal with your loved ones, creating memories around the dinner table. Happy cooking!
